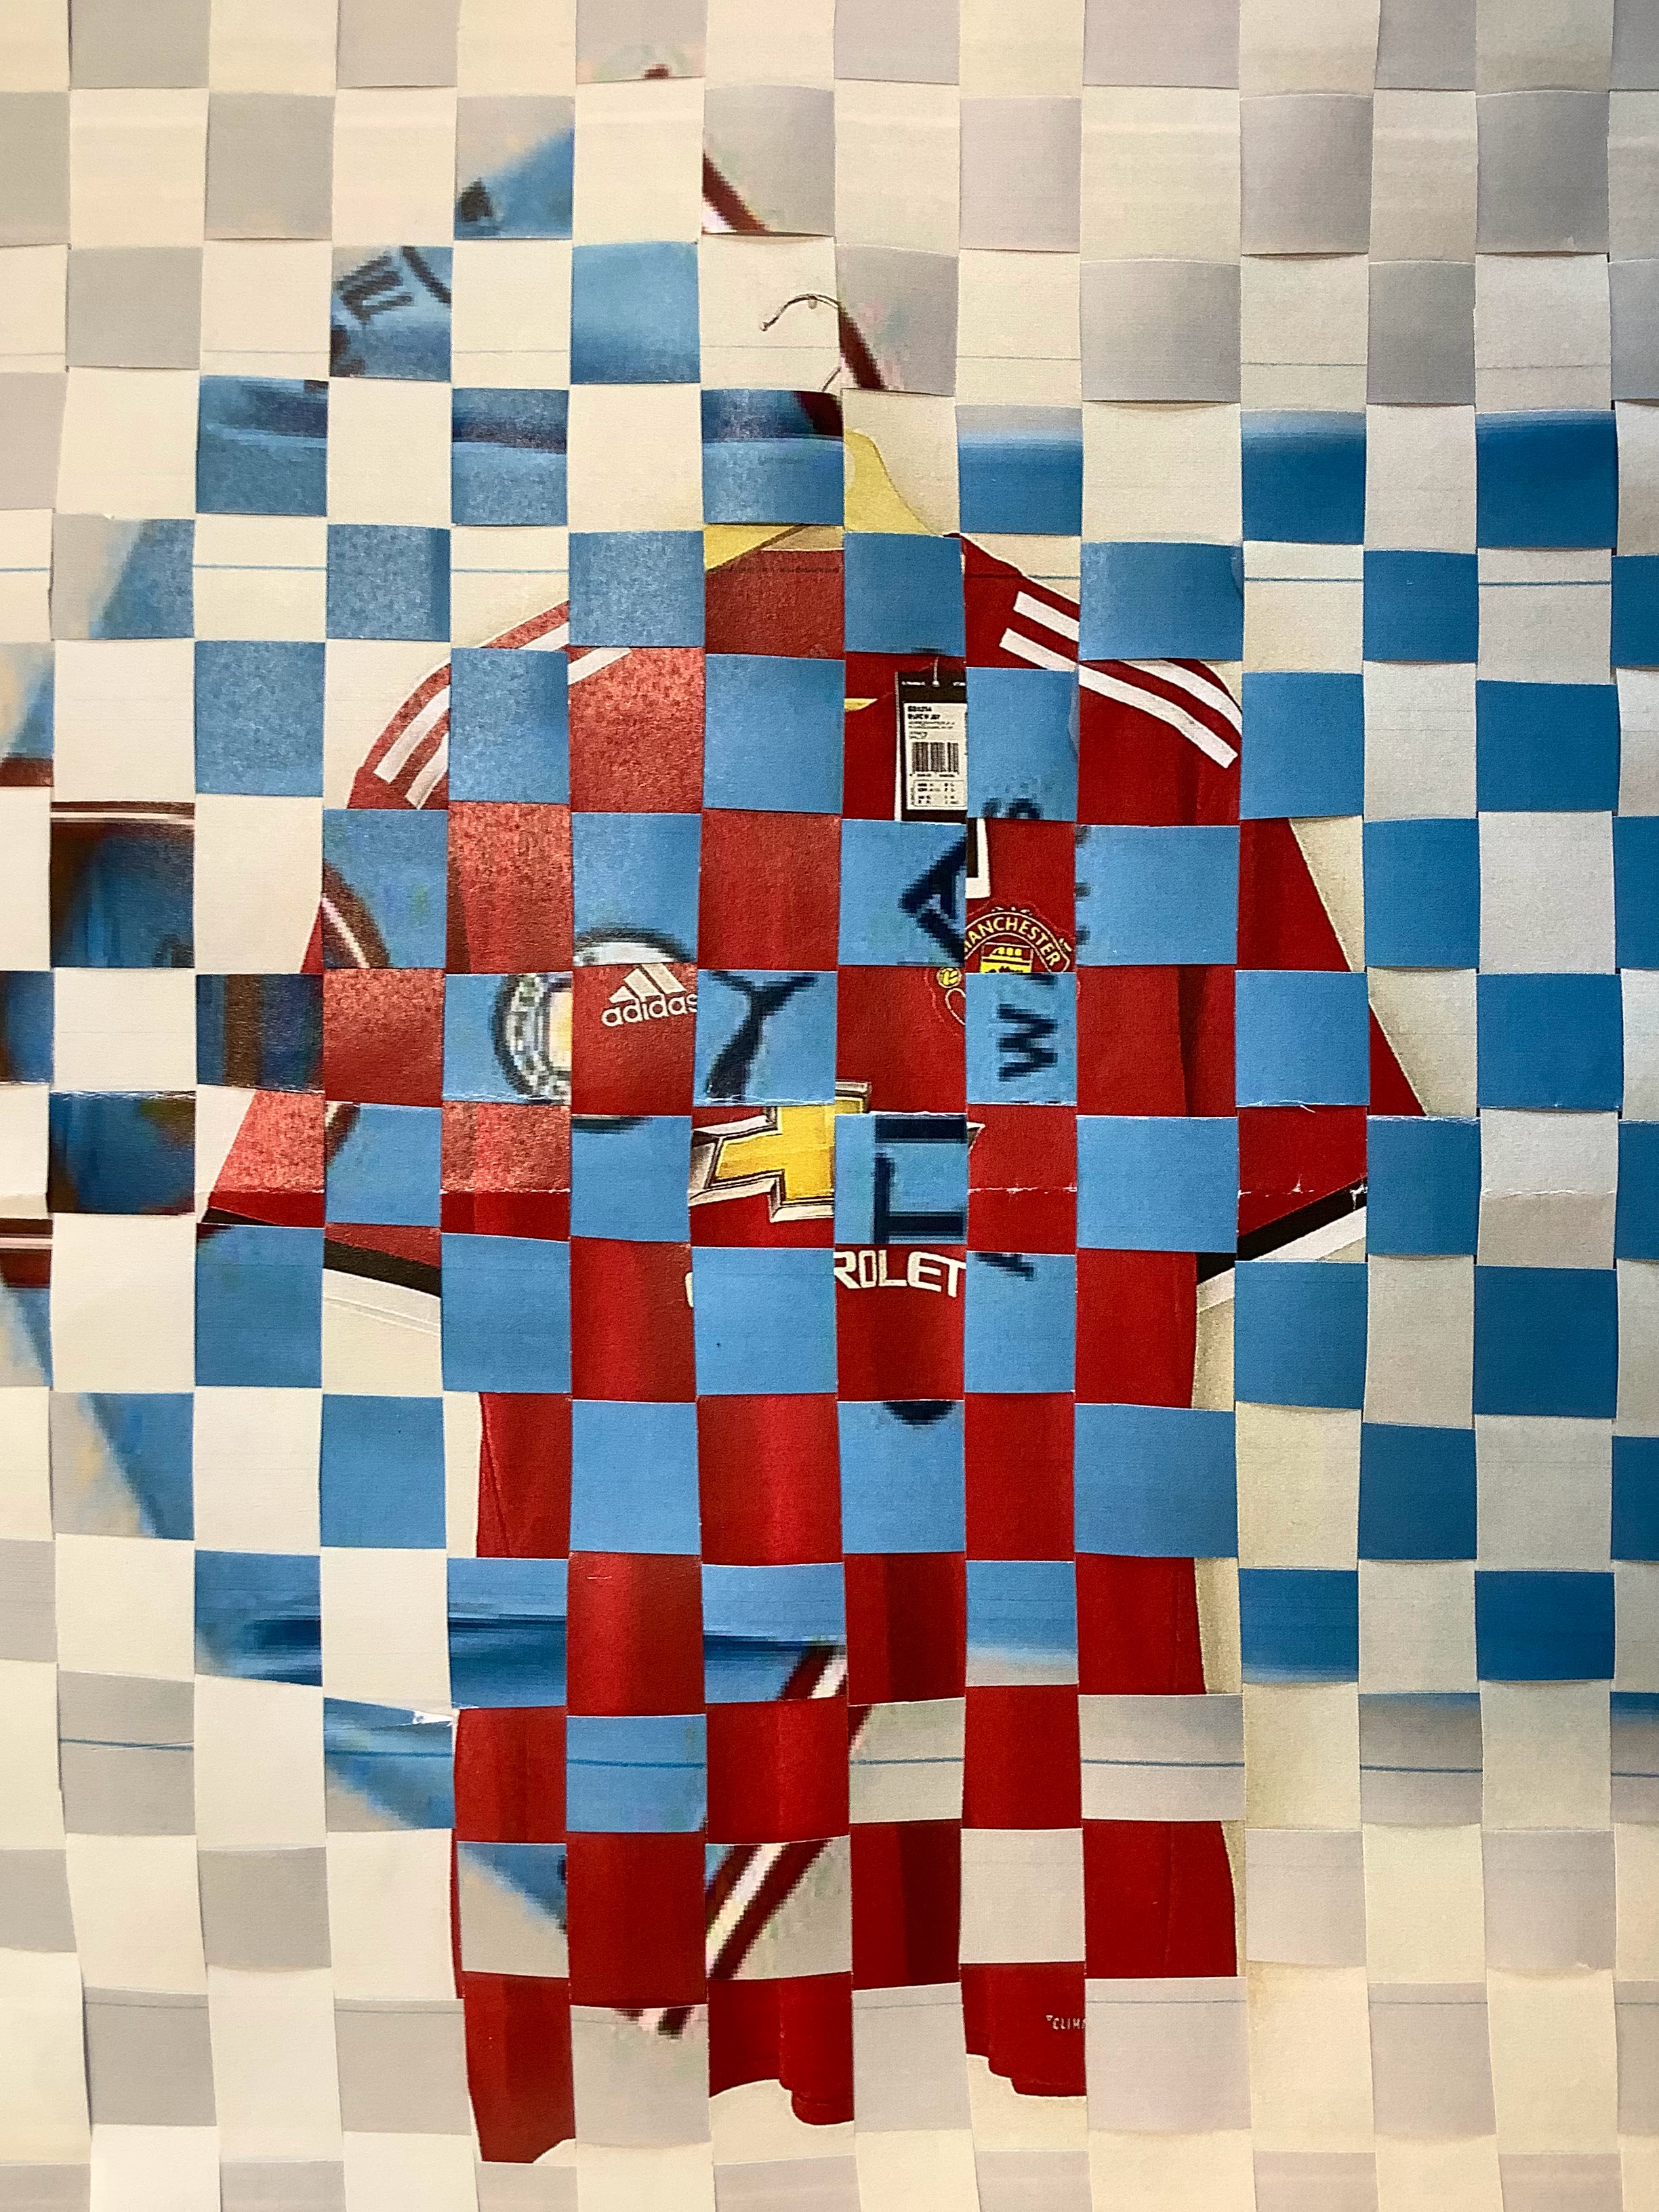
This Art & Photography project is fairly simple scheme of work and quick to teach, with effective photographic final pieces for students. It doesn’t require any complex understanding of photographic techniques (yay) and it was designed as a taster of GCSE Photography for my Year 9 (KS3) classes. Students created some brilliant, woven photograph pieces as their final outcomes using their own pictures 📷
Get art resources sent straight to your email:
**UPDATE**
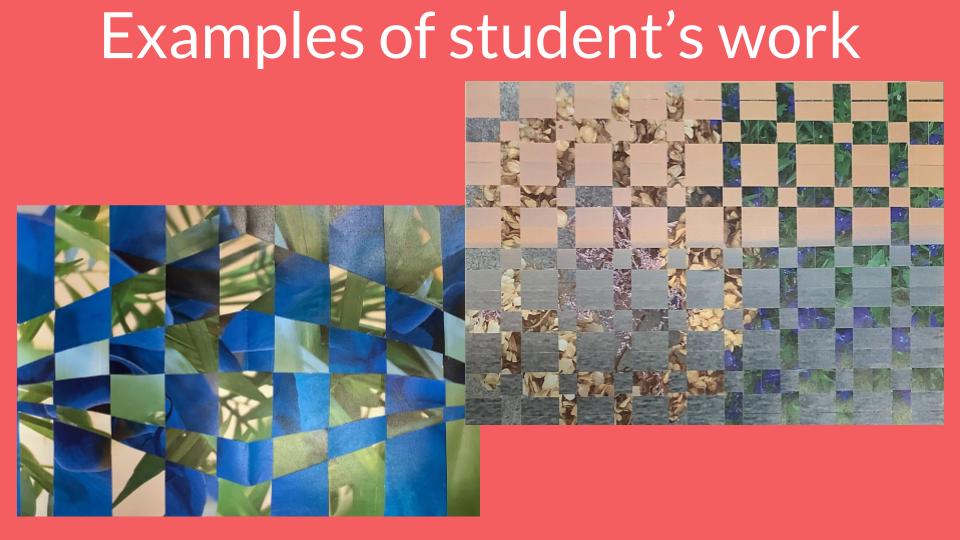
I have added more slides to the presentation with even more examples of paper weaving and student work – enjoy!


This mini art and photography project was really designed as a GCSE taster. It’s very short to teach (but could easily be extended if you wanted to) and students could make the work really personal by taking their own photographs.

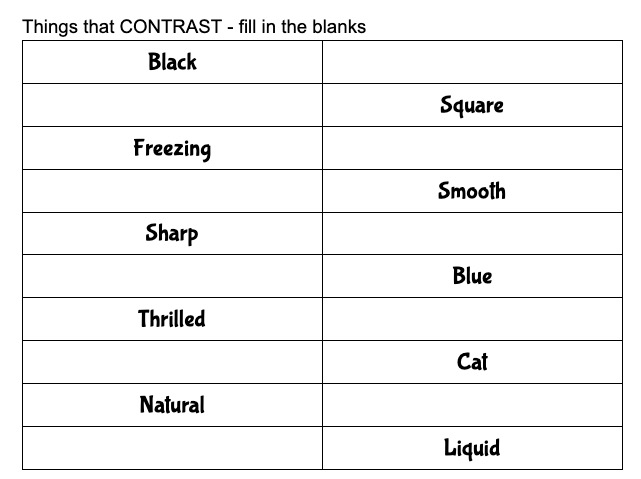
I chose CONTRAST an overall theme for the scheme of work, giving students something to consider when taking their own pictures. To introduce the project, there is a starter activity getting students to think about what contrast means and how it could be explored in photography.
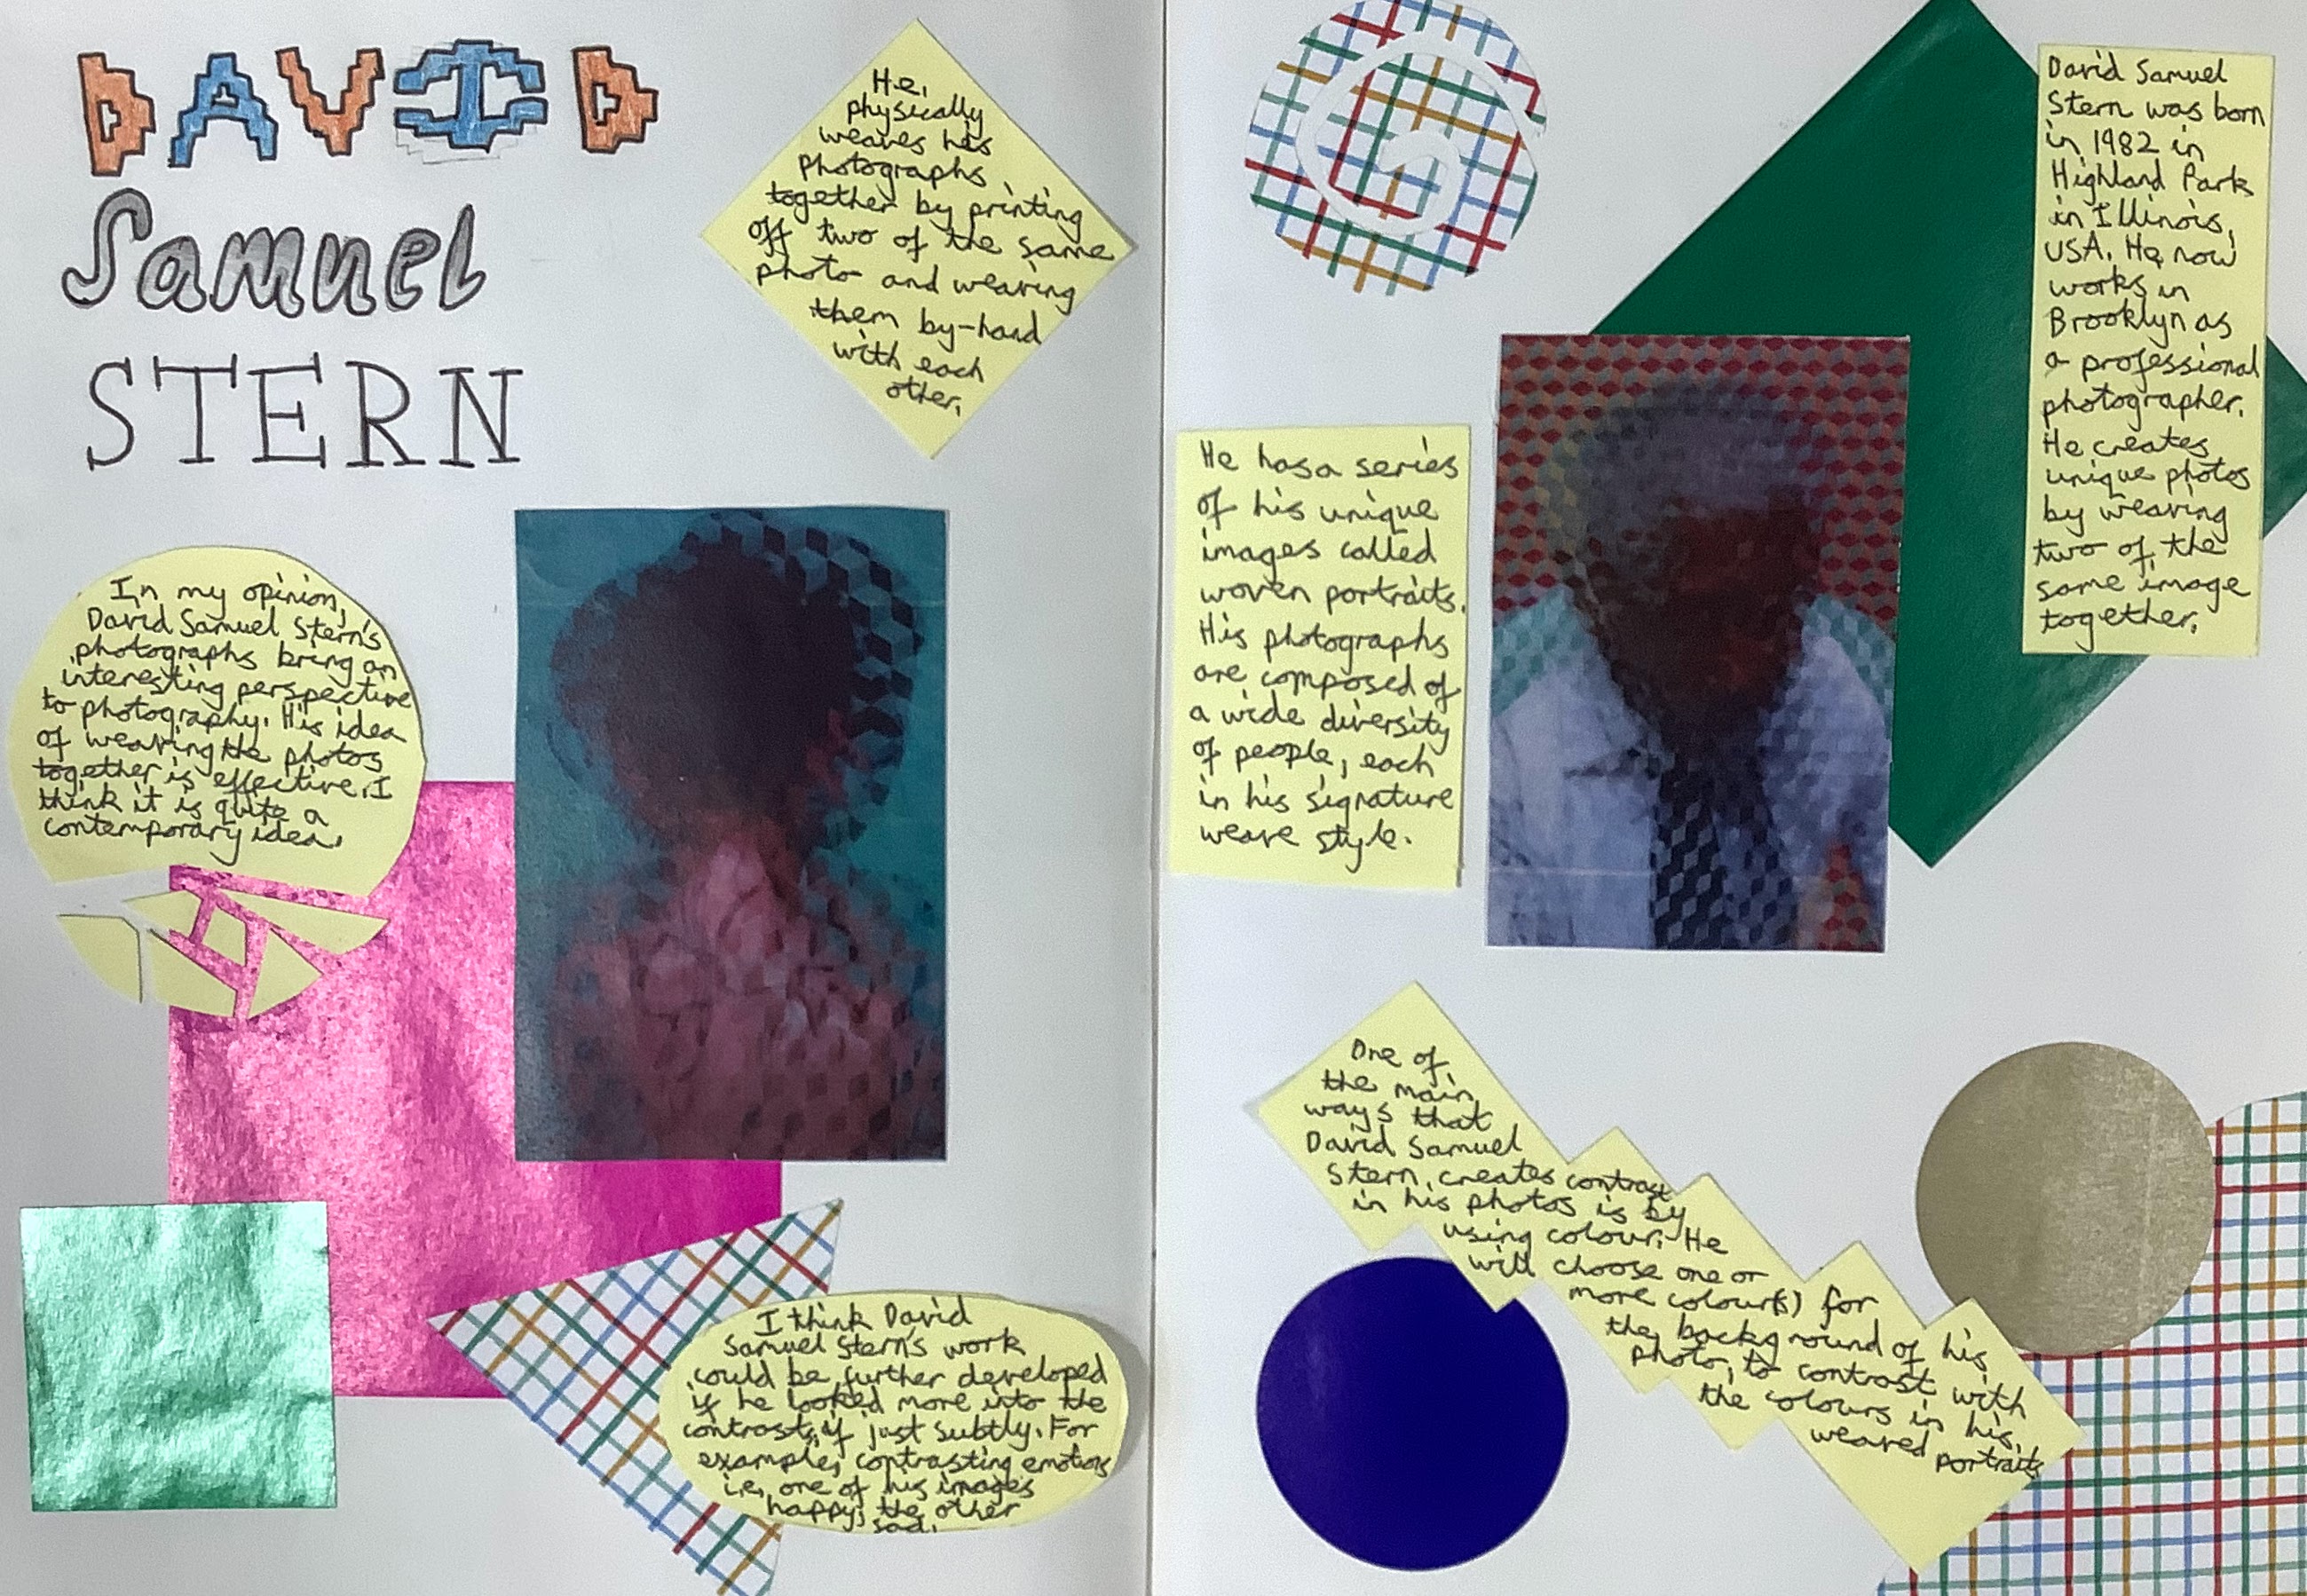
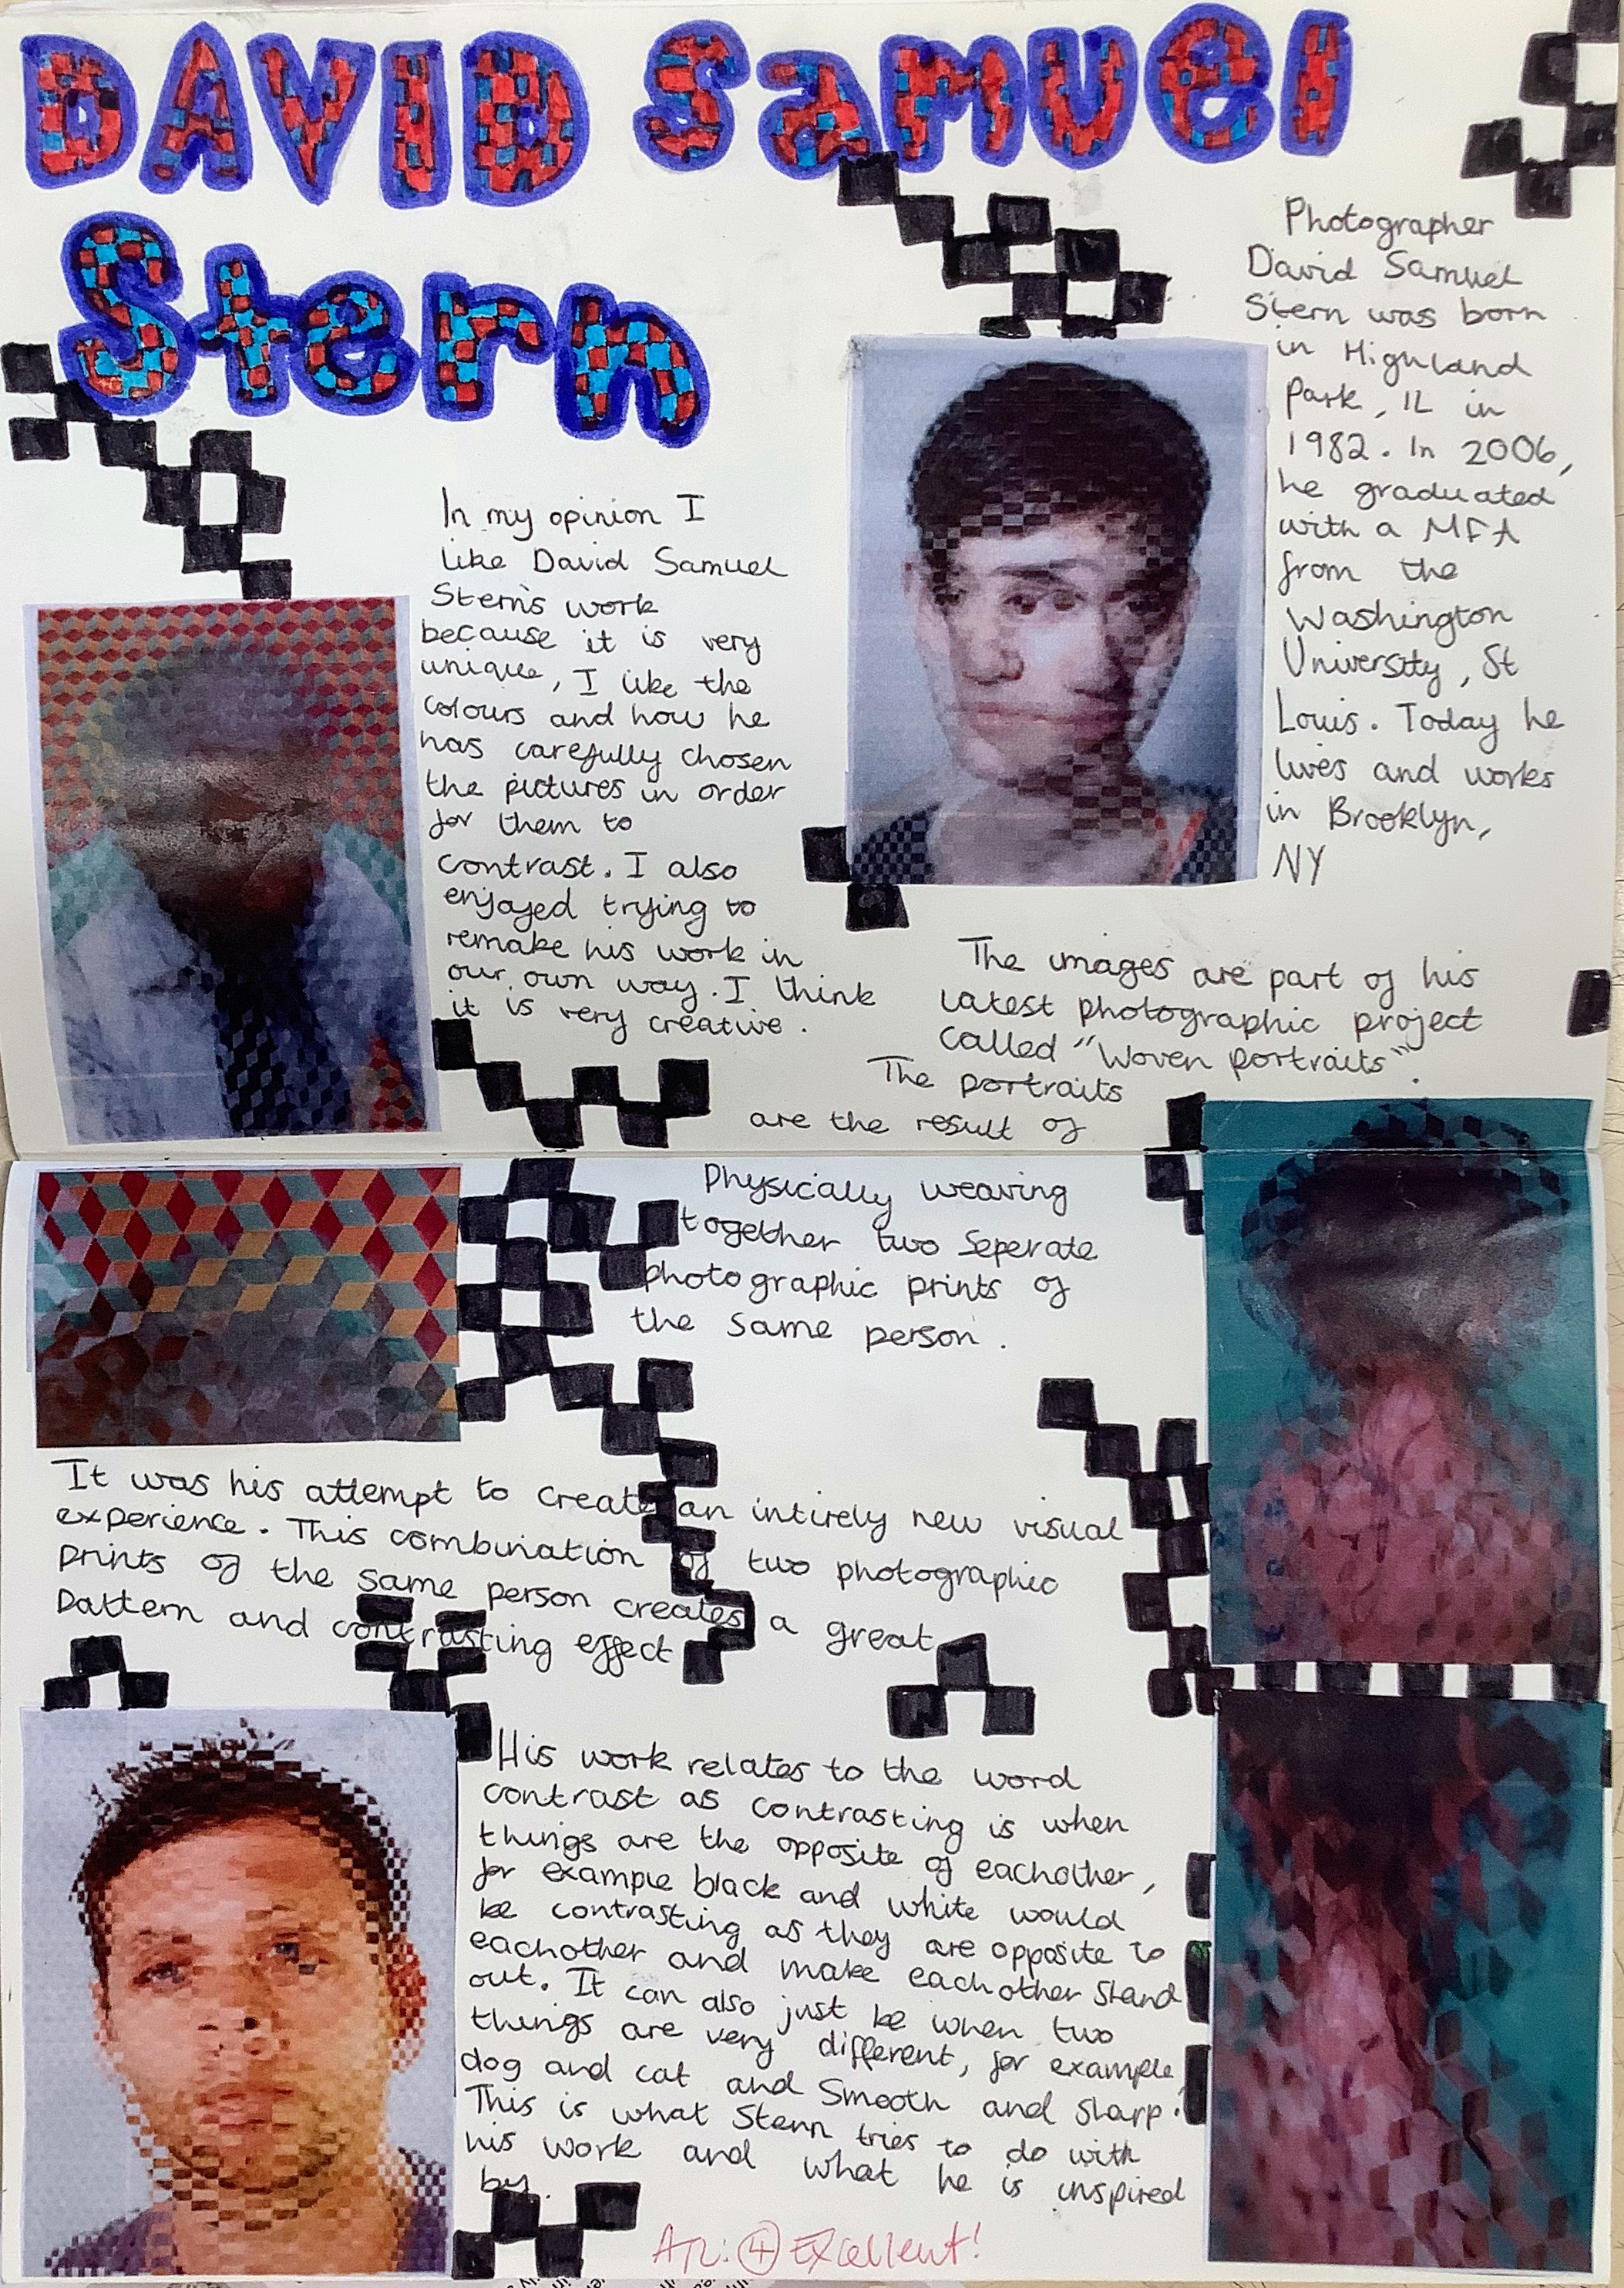
Once students were clear about the idea of CONTRAST in photography, I introduced the artist / photographer David Samuel Stern as a reference for students to research – his work is brilliant!
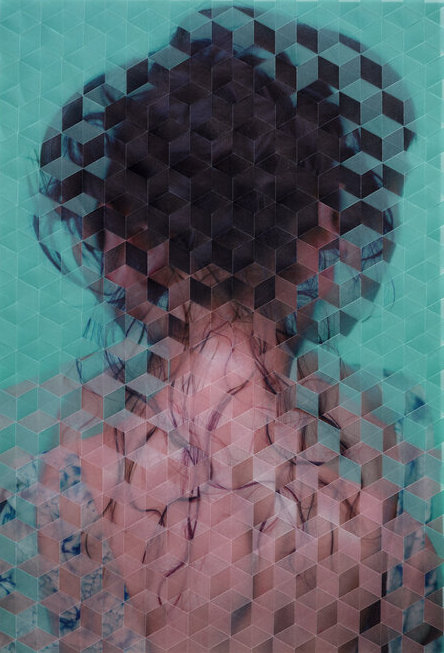
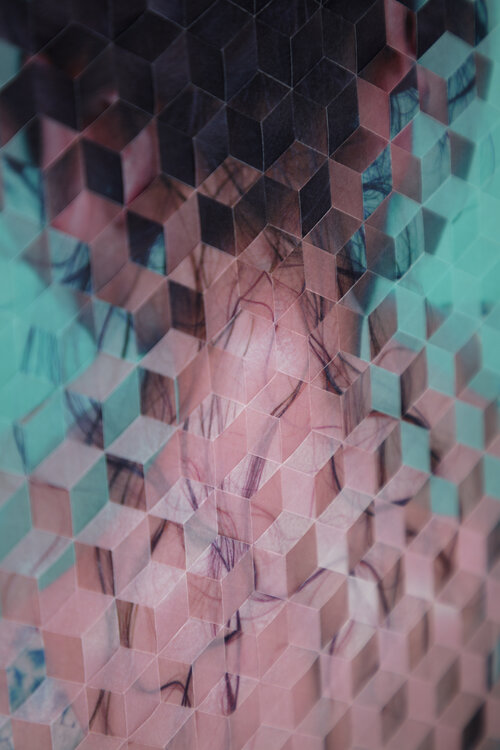
Although Stern doesn’t necessarily focus on CONTRAST, I wanted students to understand his process for weaving photographs together and see some of the possible outcomes. Students loved his work! Pictures of his work are included in the project slides so they can be printed for students to use in their research.
Students produced some excellent research pages about David Samuel Stern:


Quick note:
I’ve actually updated this scheme of work with another photographer – Jason Chen -as a reference for students. His work is now included in the presentation so you can choose either (or both!) to use in your lessons. Chen’s work has a clear link to ideas of contrast, juxtaposition and duality, which I thought were a bit more appropriate to the scheme of work.

How to organise students taking photographs during lessons
This part of the project required a bit of lesson planning:
– each student needed to take at least two photographs each
– each photograph had to be printed ready to be woven
– some classes had 35 students!
While students were working on their David Samuel Stern research pages, I would select groups (up to 4) to move around the room taking pictures of things that contrasted, eg. a rough surface and a smooth surface. I would give them some tips and ideas related to camera angles / lighting etc. as they worked.
Any students not working well in their research, or not on task, didn’t get chosen and had to take the pictures as homework (hehe).
I set up an Assignment in Google Classroom and students uploaded their best two photographs. From there, I could just open the Drive folder and download all of their photographs in one go, ready to print.

Some students didn’t have a phone to take pictures with (or it had died) so I let them use our GCSE Photography cameras. We have a couple of these Canon EOS 4000d cameras and I find them great for our GCSE students – simple to get started with and various features for experimenting.

As soon as I got these cameras out and started to demonstrate with them for the small groups taking pictures, the rest of the class suddenly became very engaged and all wanted to have a go 🤔
Once students had finished their research pages, and had their contrasting photographs printed out, they could start weaving them together. This was the second or third lesson in the project (depending on the class I had or how far ahead / behind students were).
I used this great video on photographic weaving techniques to speed up the process:
To increase the challenge for some students, I used differentiated outcomes with my trusty Nando’s peri-ometer 😆 which they love. They were also already engaged with the work because they were using their own photographs rather than pictures from magazines or random print outs.

Once students understood the paper weaving concept and had cut their pieces, the rest of the lessons were quite straight forward. To make their work as accurate as possible and to incorporate some maths into the project, I had students draw out ruled lines on the back of their photographs, ready to cut.
The smaller the gaps between the lines, the more complex the weave became. Most students opted for 1cm gaps, but a few went for 2cm or even 3cm if they really struggled with all of the cutting. Their photographs were all A4 size, so it was quite a lot to measure and cut.

Once students began weaving their photographs in my class, I assigned them a task to finish at home. This was primarily because of limited time, but you can also expand on this small art and photography project by trying out various weaving methods: using different shapes or sizes, or even by printing one copy of their photo in black and white to observe the contrasting colors.
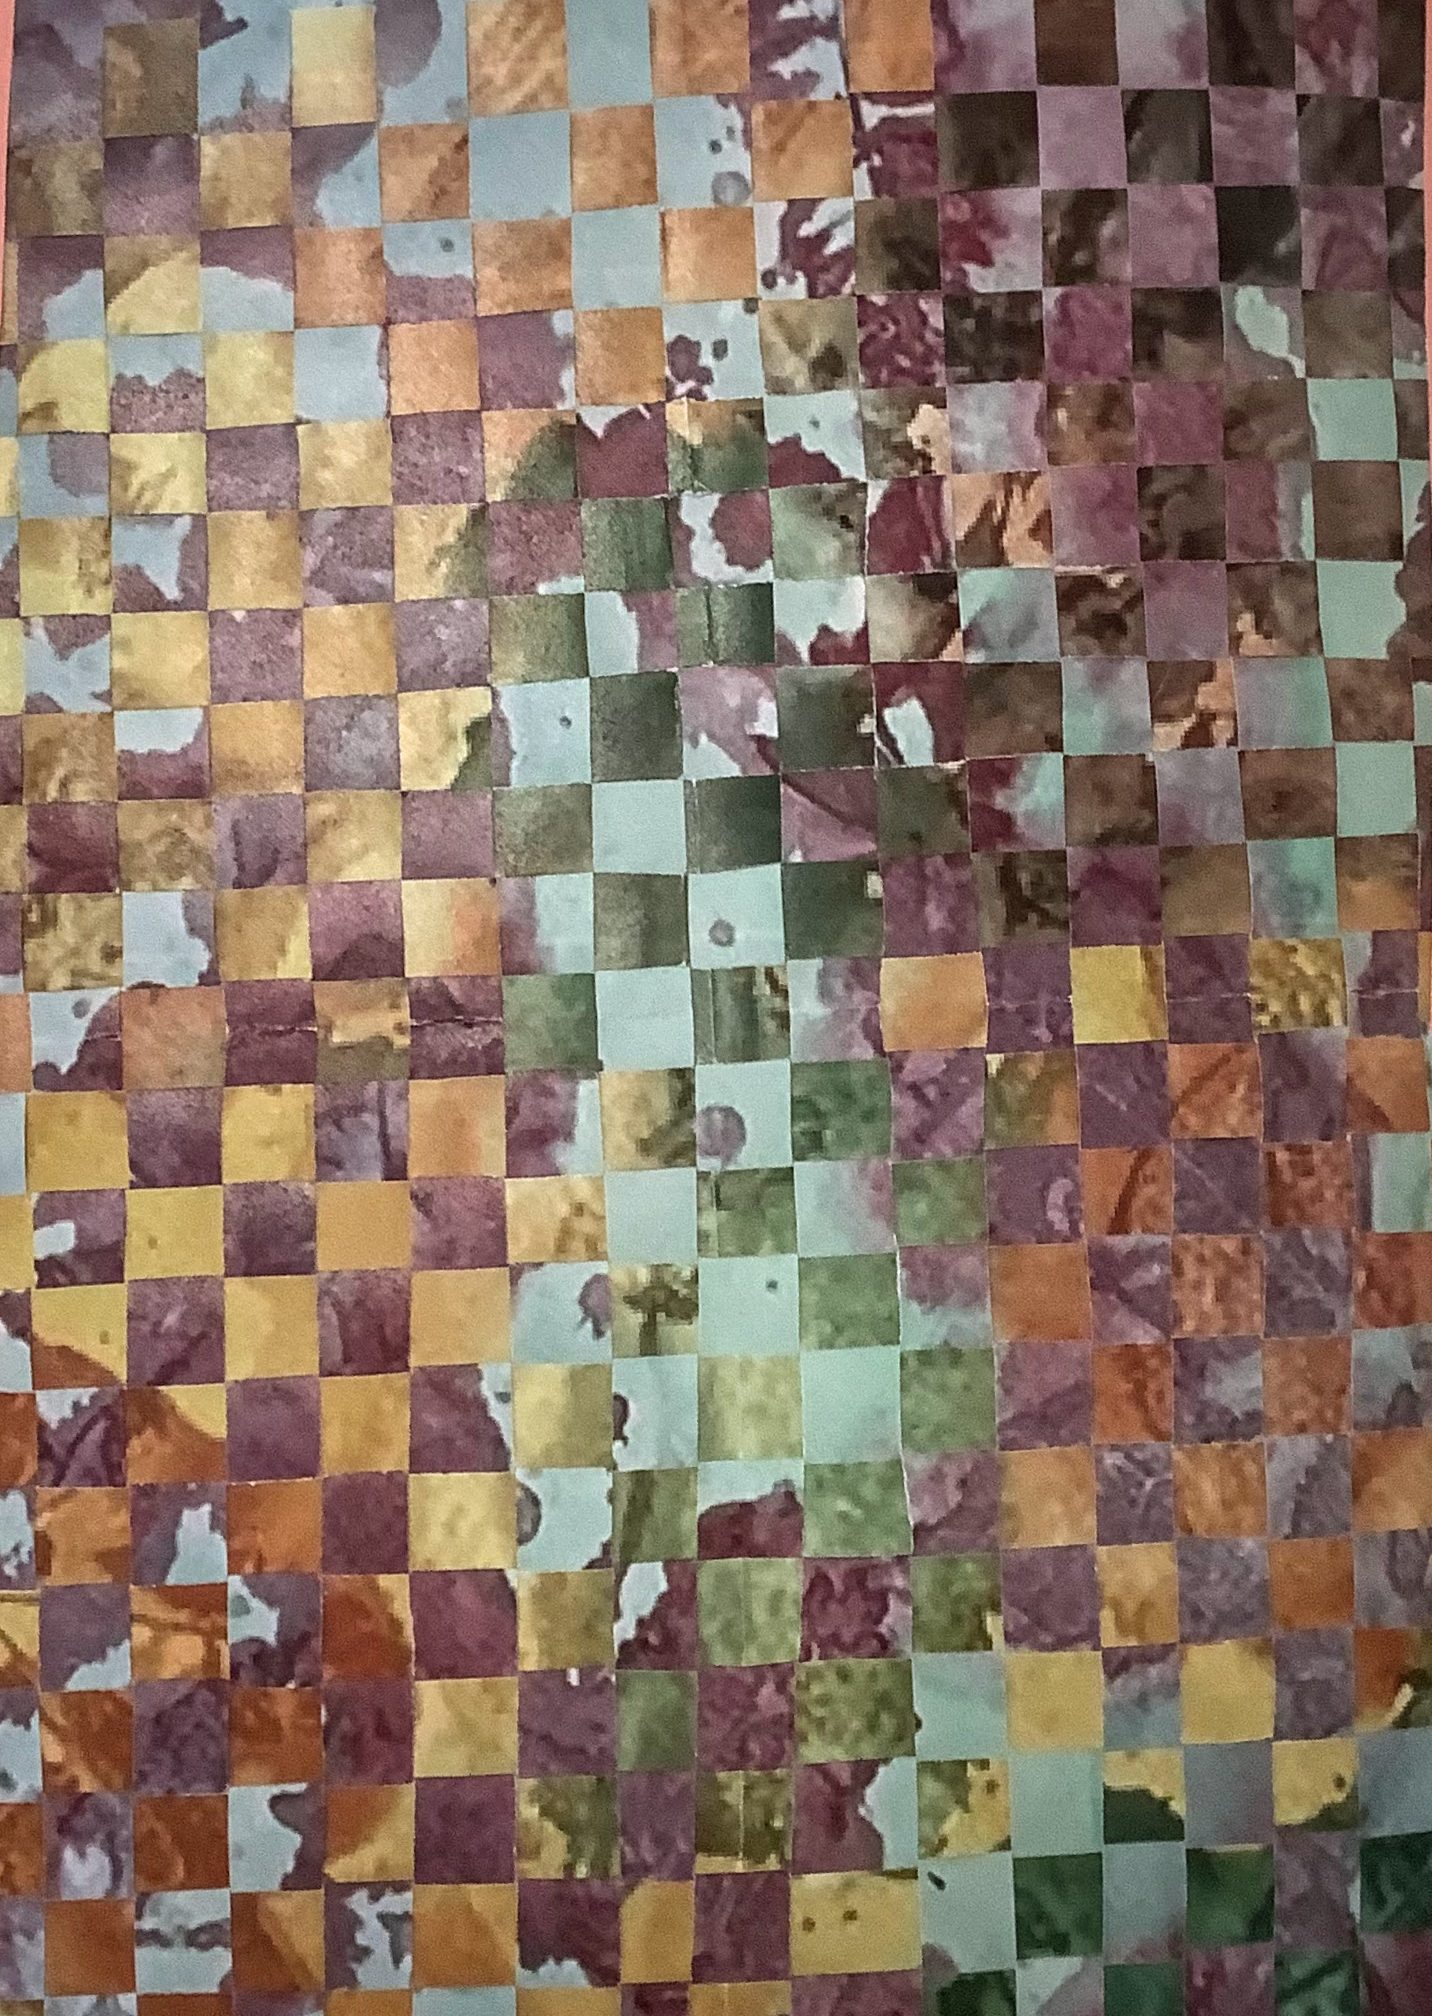
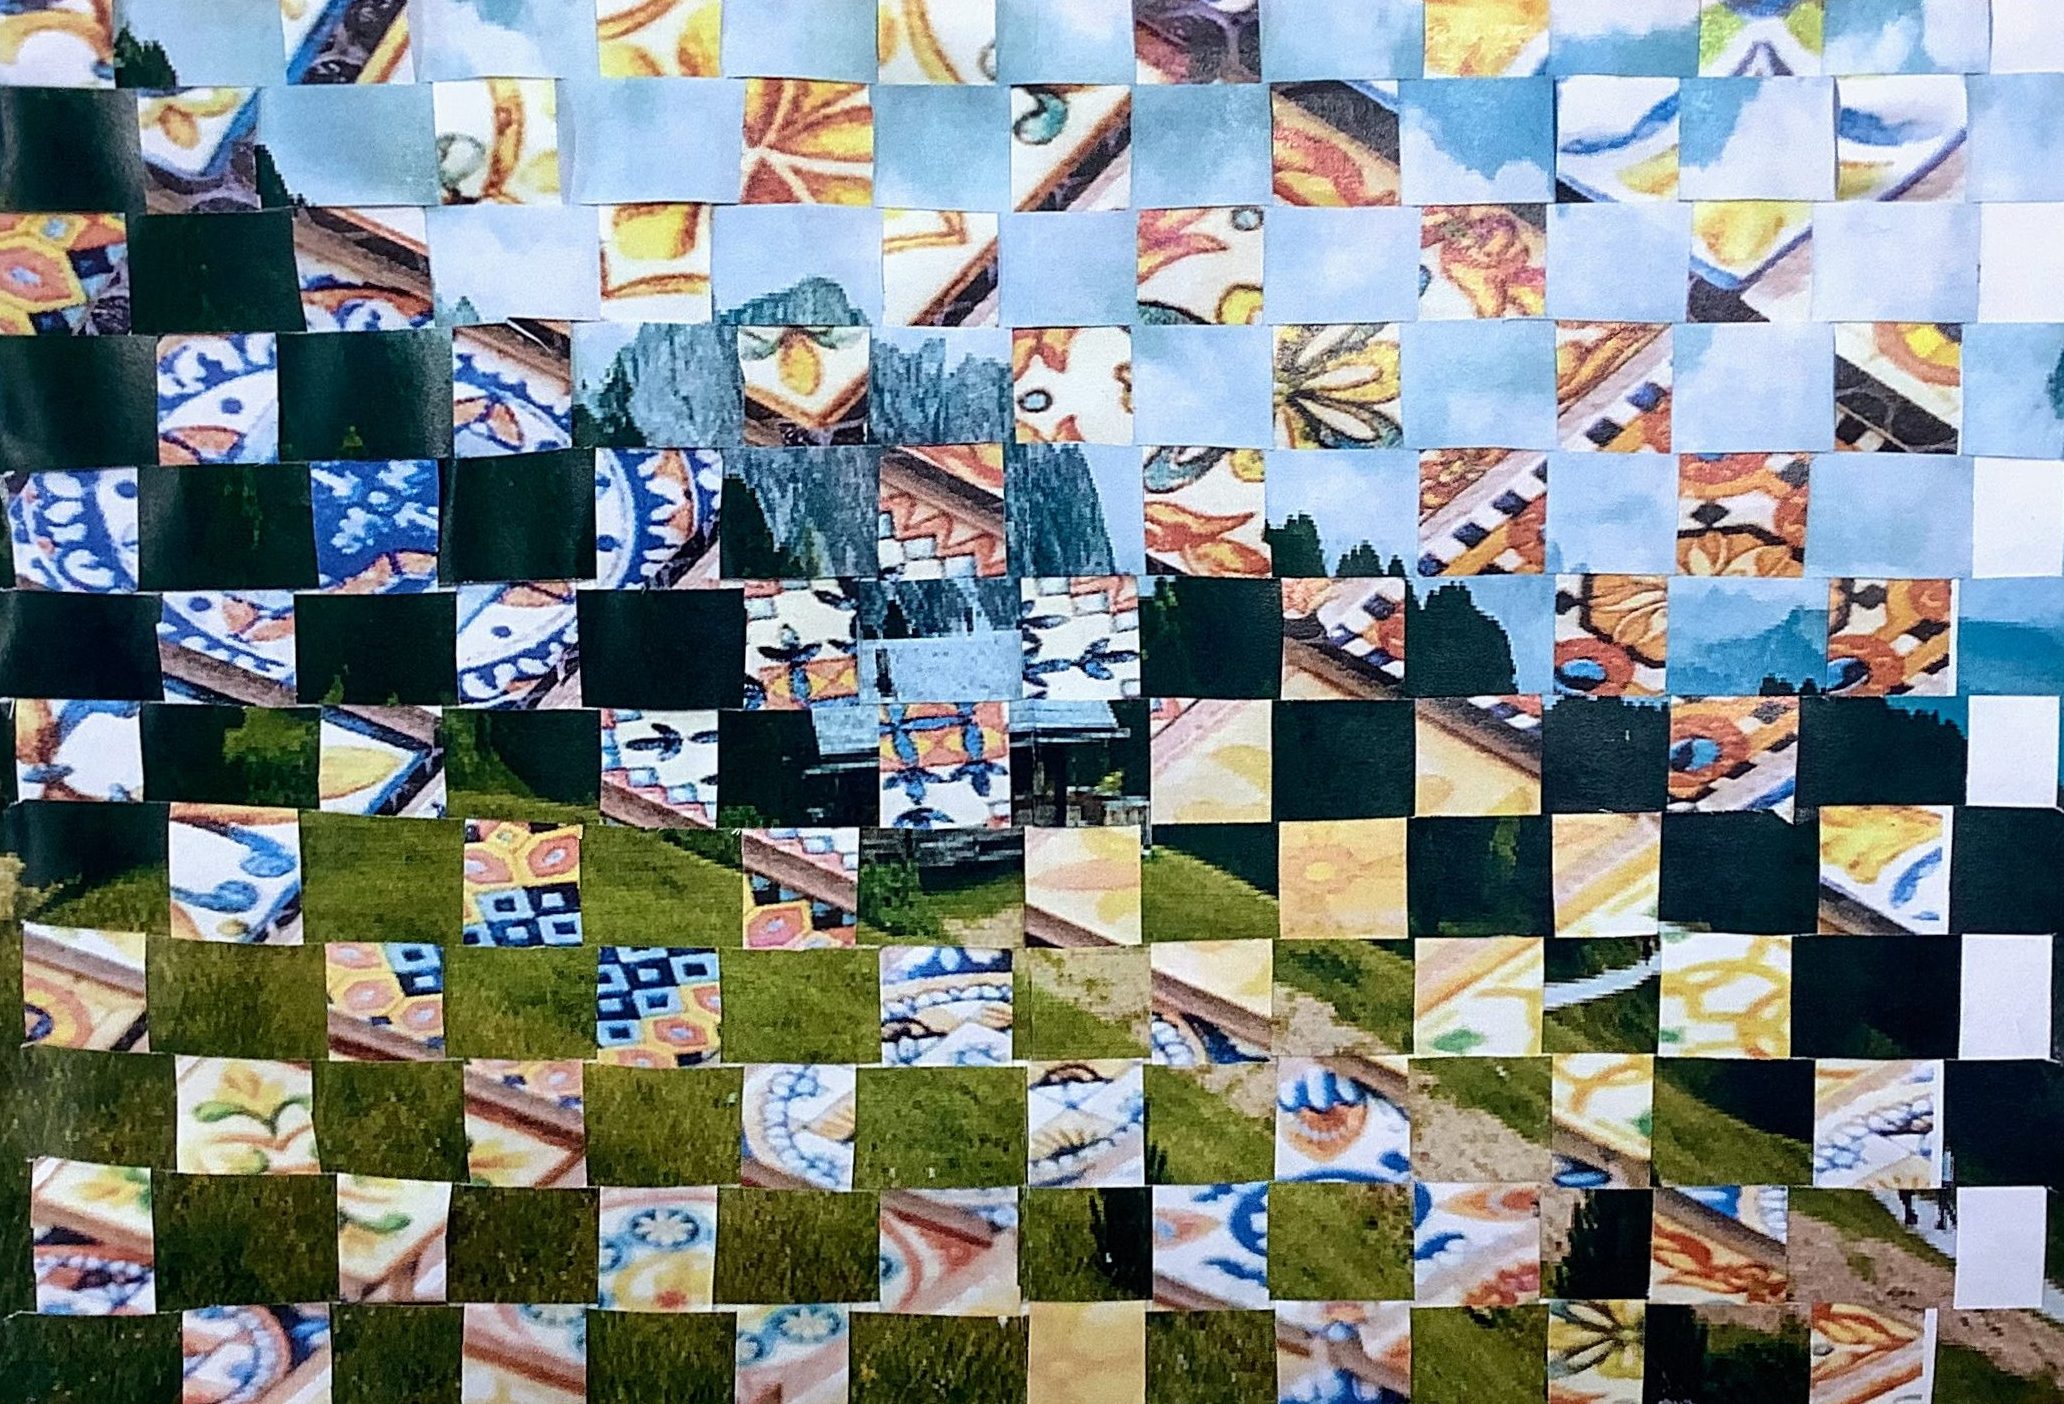
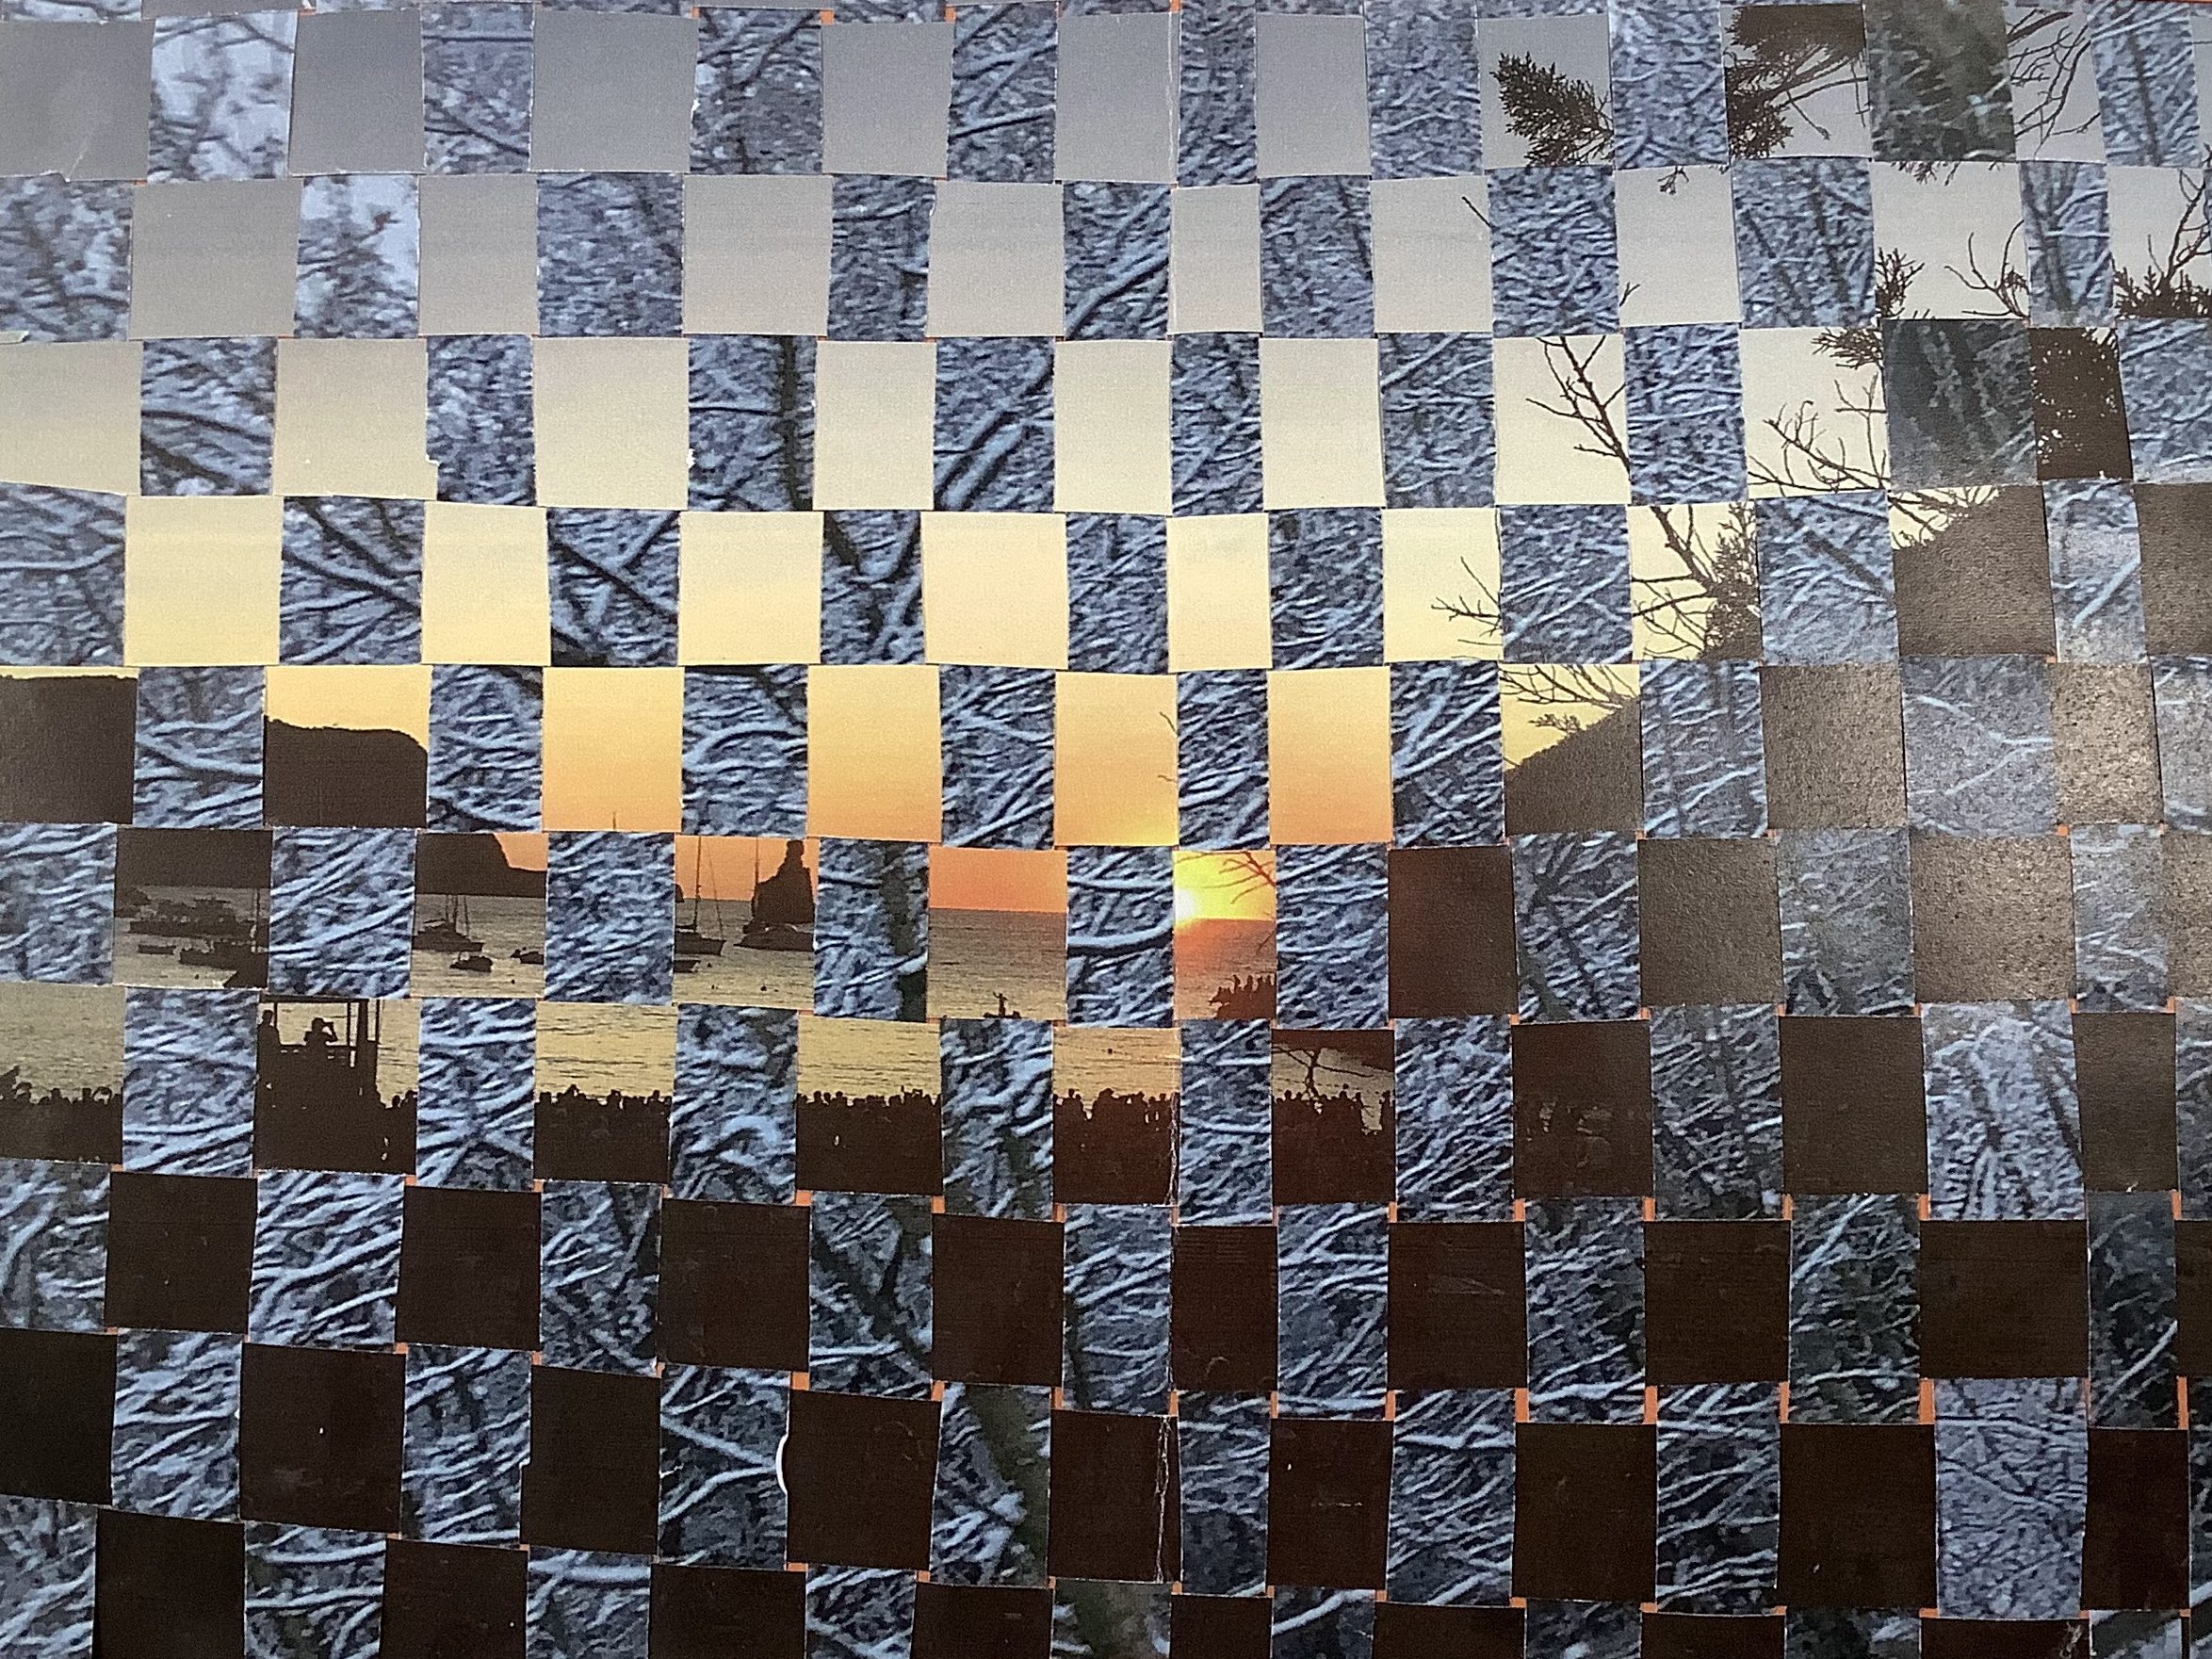
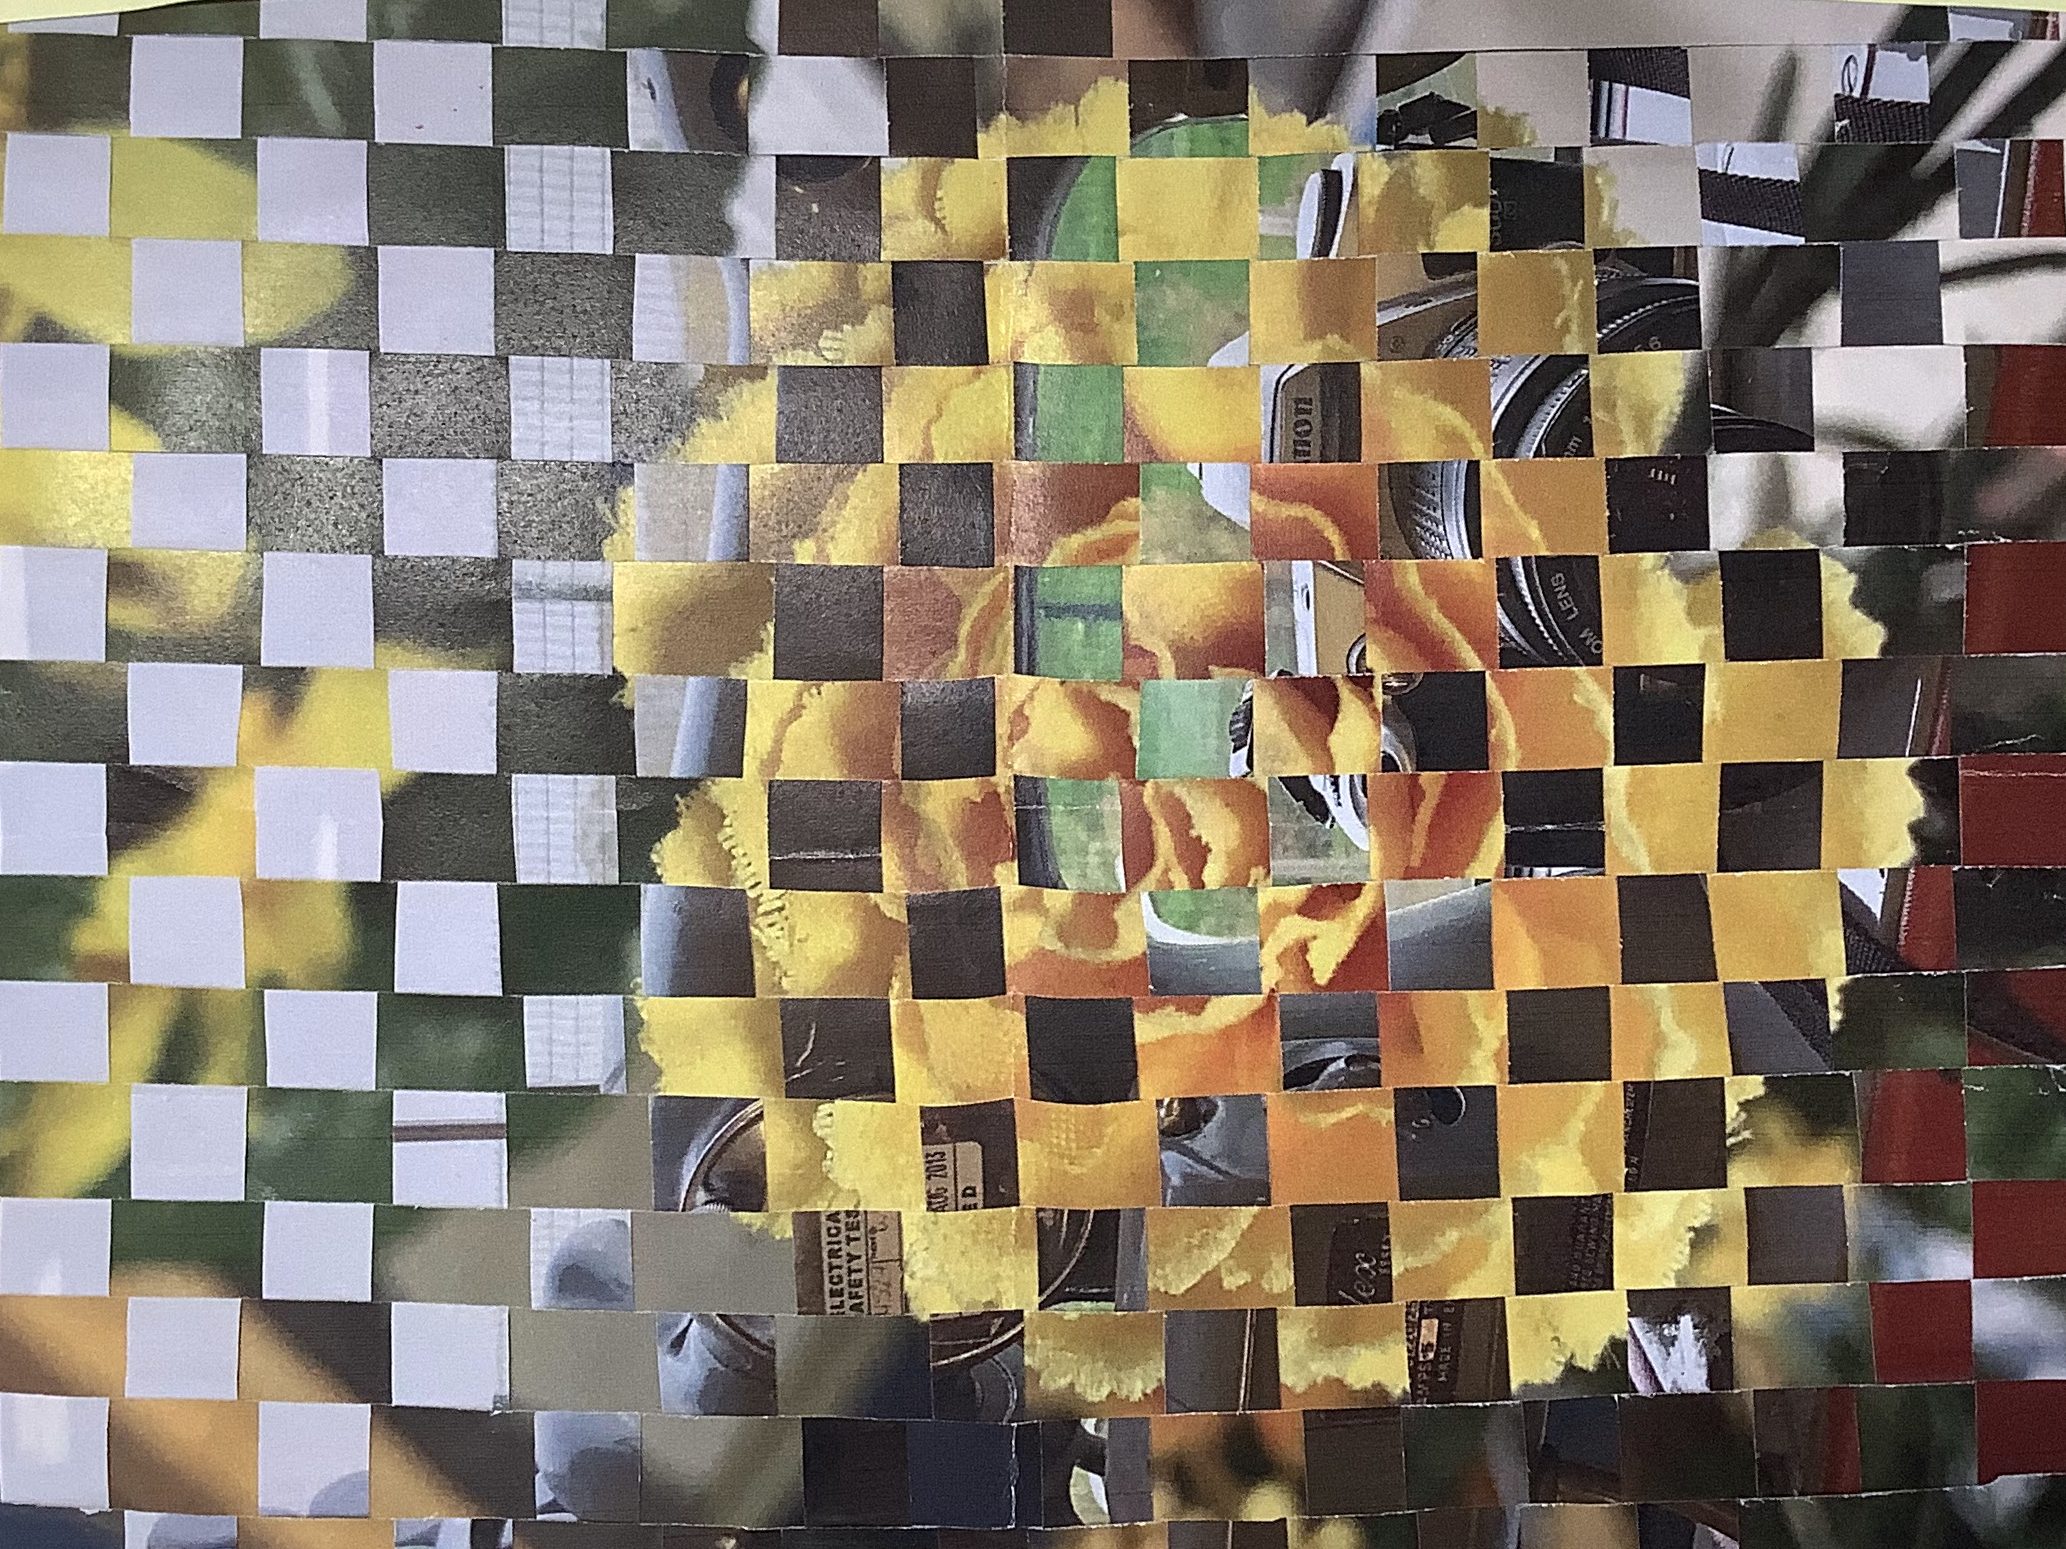
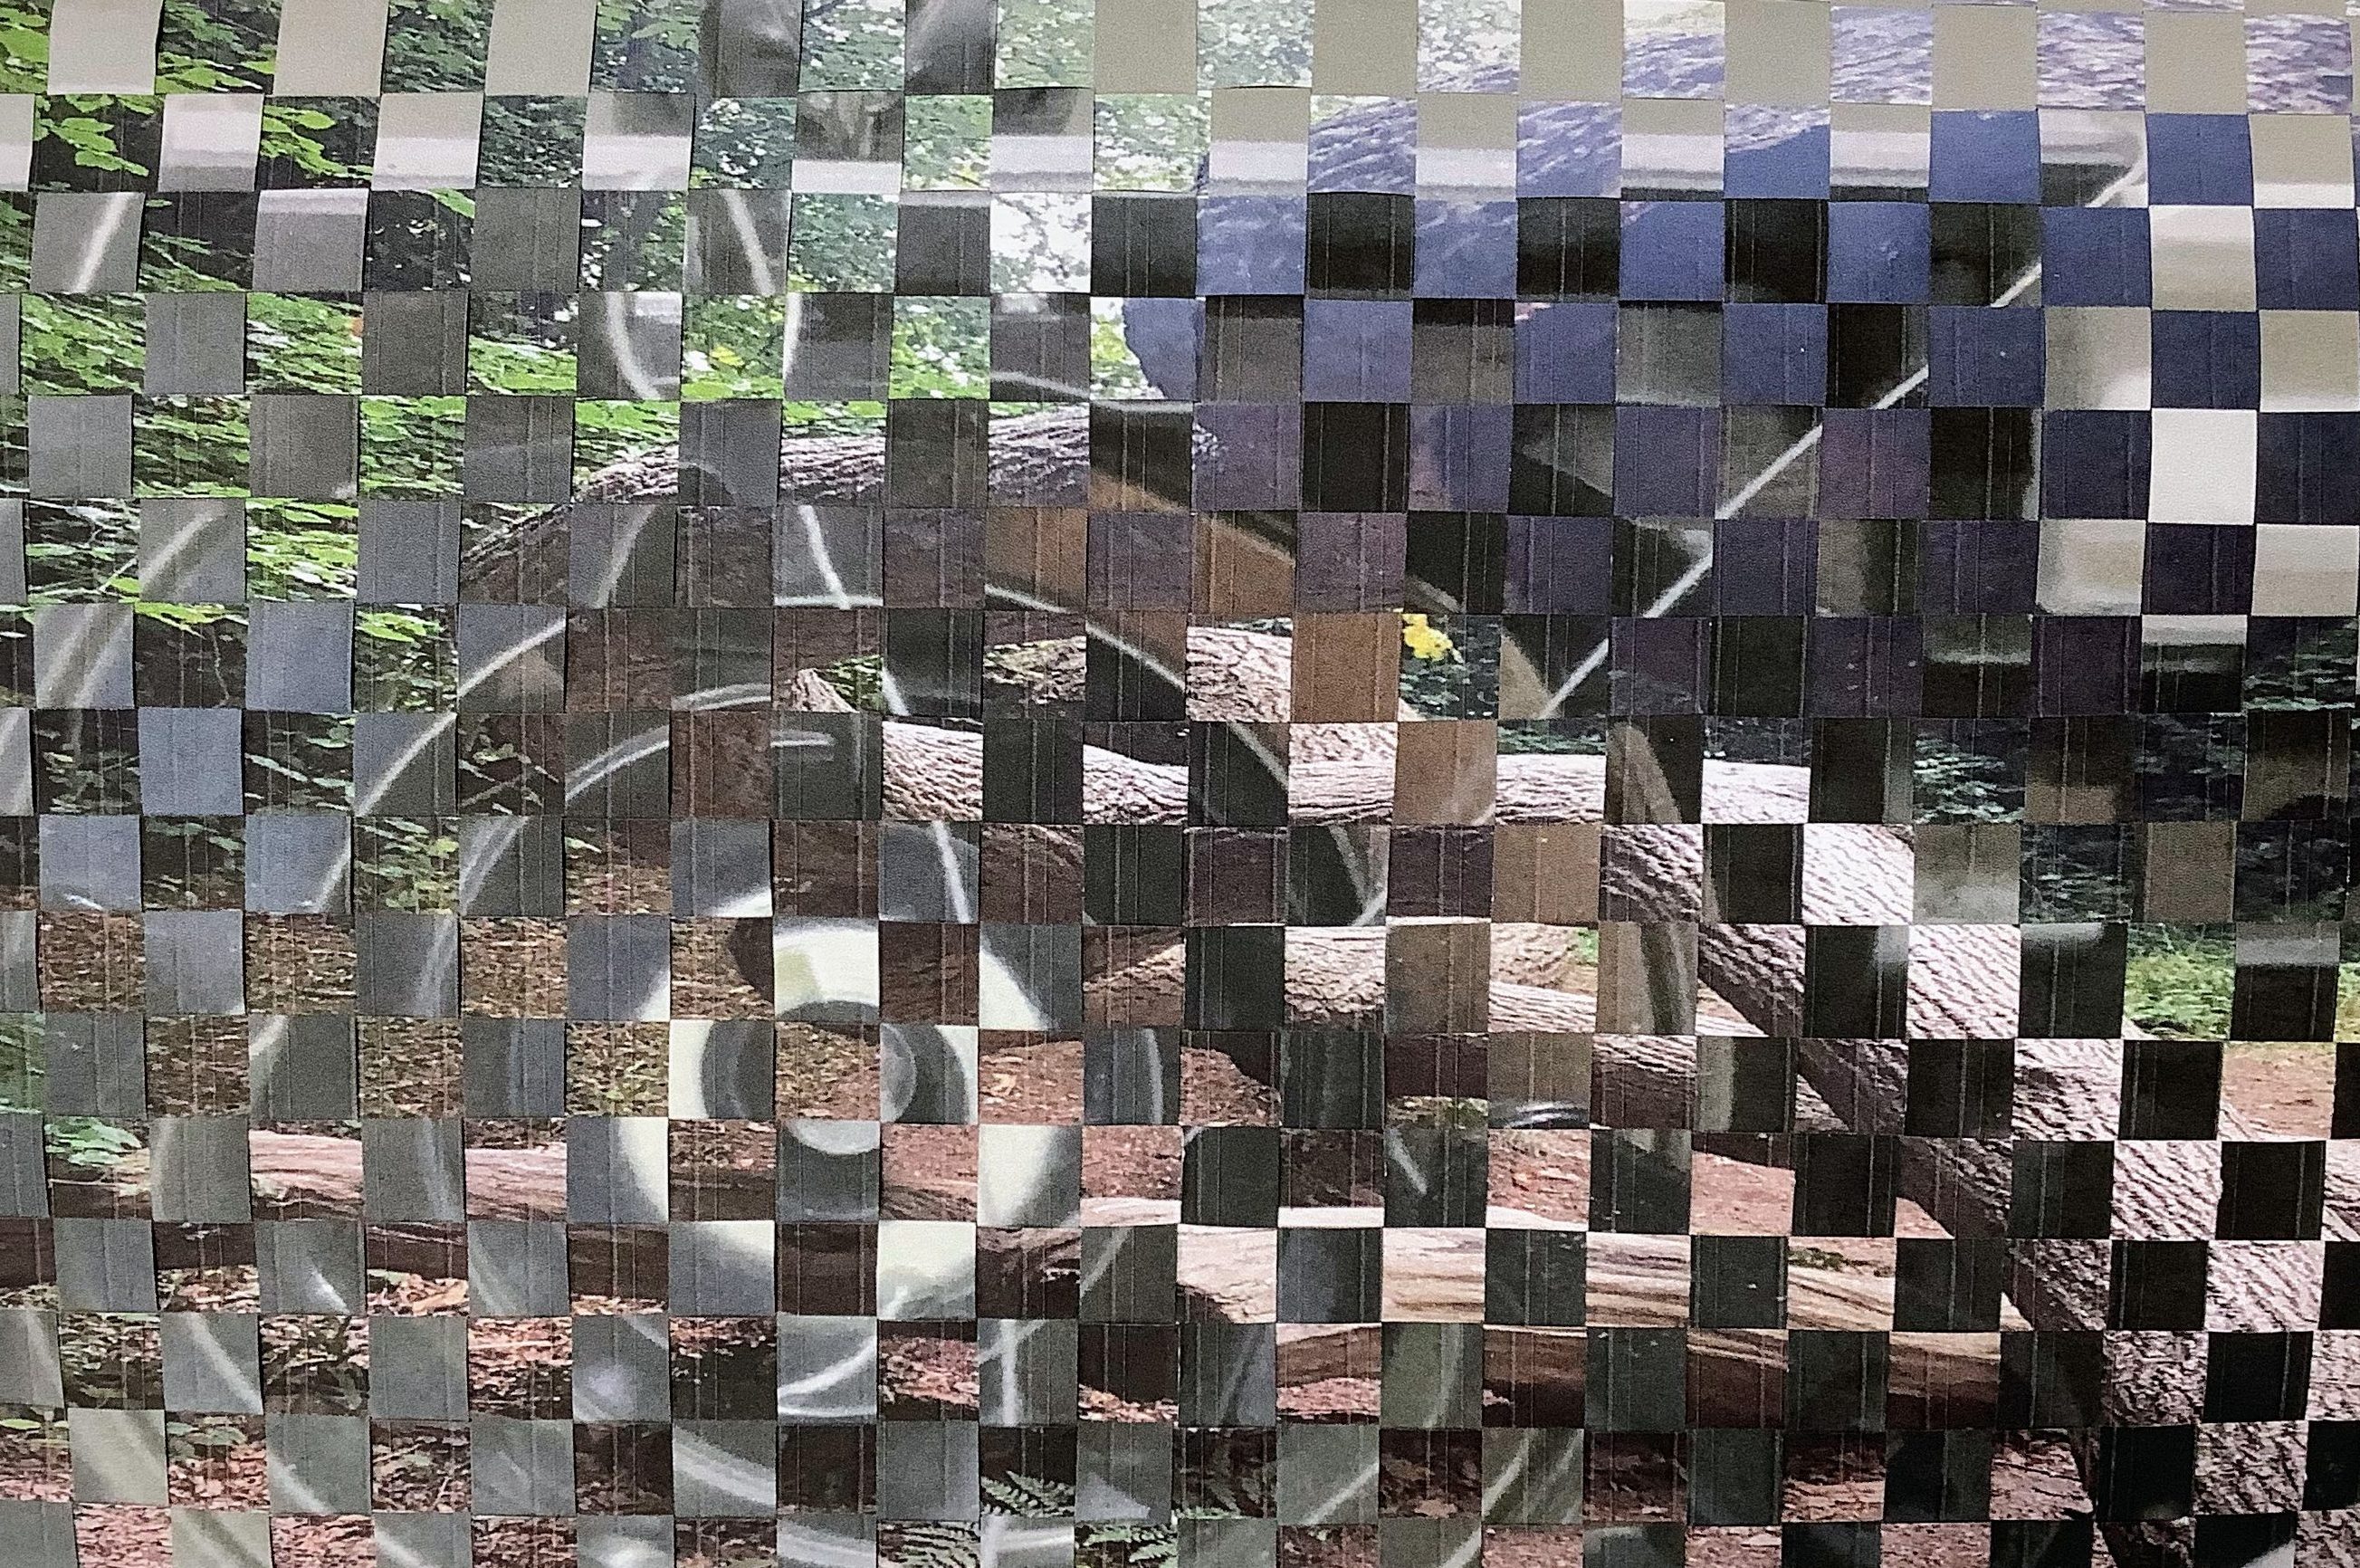
Here are some examples of final photographic woven pieces by students – what do you think? I was really pleased with how well they came and, some look so nice!


If you would like a copy of the resources for this project, just sign up for free here and download the presentation – enjoy!

Subscribe to continue reading
Subscribe to get access to the rest of this post and other subscriber-only content.

Comments are closed.