It sounds bad to say but “I’m making this project up as I go along” 😂 as in, it’s not finished yet! I’m creating the home learning Cubism Scheme of Work for my KS3 (Year 9) classes and I am going to add lessons weekly depending on how my students respond to it and how much work they get done each week etc.
If you would like me to share the presentation (what I have so far) just leave a comment below so I can share it with your email.
*Update* I have added some more examples of the lesson slides and student’s work. Enjoy!

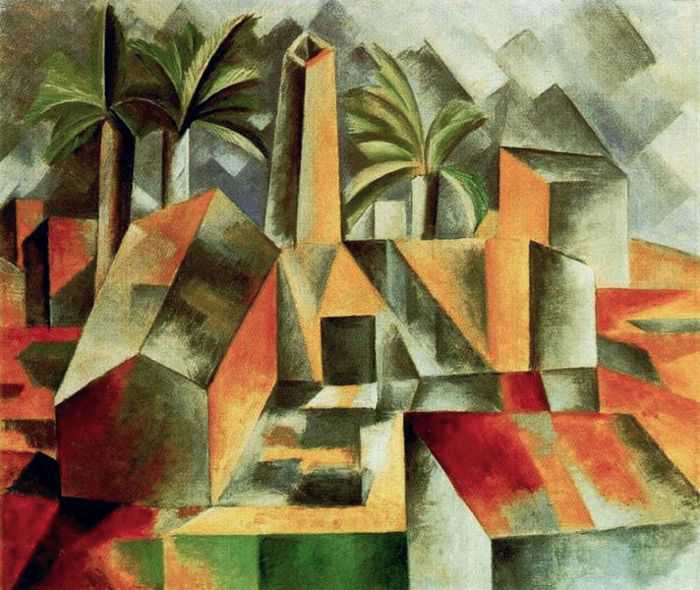
The overall aim of the project is for students to find a Cubist artist and create some research, then understand the features of Cubist work. I want students to be able to engage at home with minimal equipment so the first few lessons will be focused on drawings then eventually (hopefully) adding colour.
For this Cubism project, I am going to be sharing one lesson per week with my students, and updating the presentation slides as I go along – in our school we have 2 hour lessons in Y9 so some of the tasks might seem quite lengthy. If you want to use the presentation feel free to change / alter it so it’s suited to your classes.


I am using Loom to talk over the presentation slides and explain what I want students to do, whilst also posting the task in their online classroom. Here is what I have posted online the first part of the lockdown tasks:
Create at least one research page (on paper or online) about Cubism.
– Add the title: Cubism
– Find one Cubist artist and write 3 facts about them. Add pictures of their work.
– Explain the key features of Cubism (objects overlapping, drawn from different viewpoints and positive / negative colours.)
– Draw a section of their work carefully, including shading (and colour if you have the equipment)
All writing should be in your own words and in full sentences. It can be done online or on paper, just submit a photograph of anything you have done.

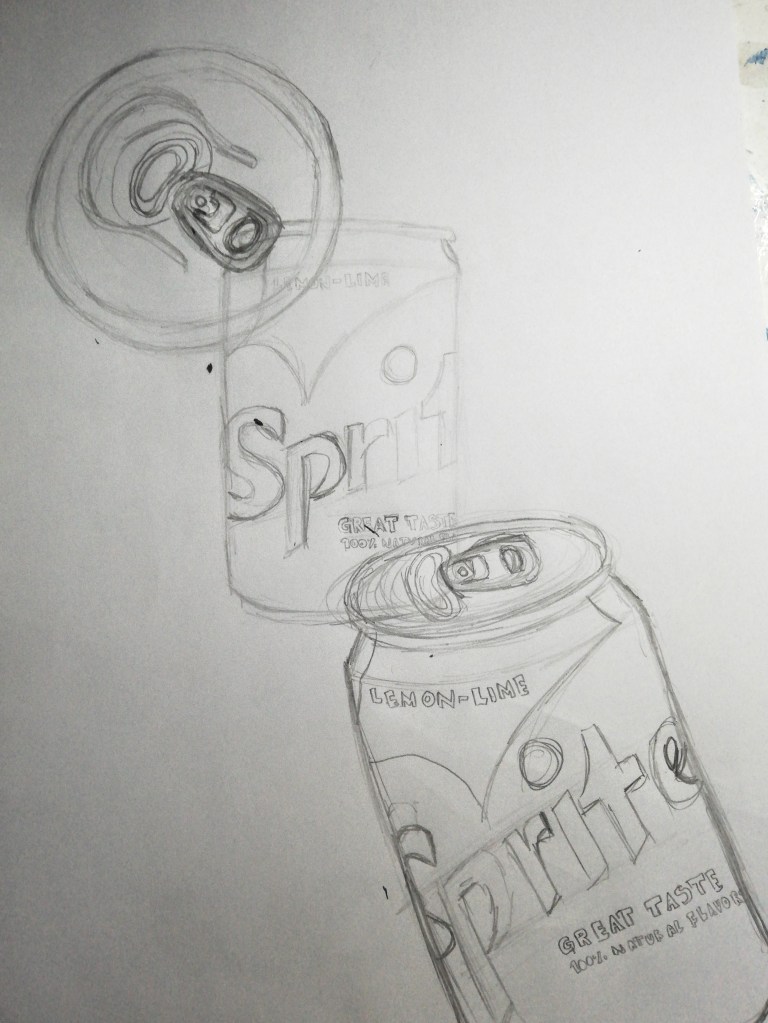
For lesson two / week 2 I will ask students to focus on drawing an object from different directions, as described in this slide.


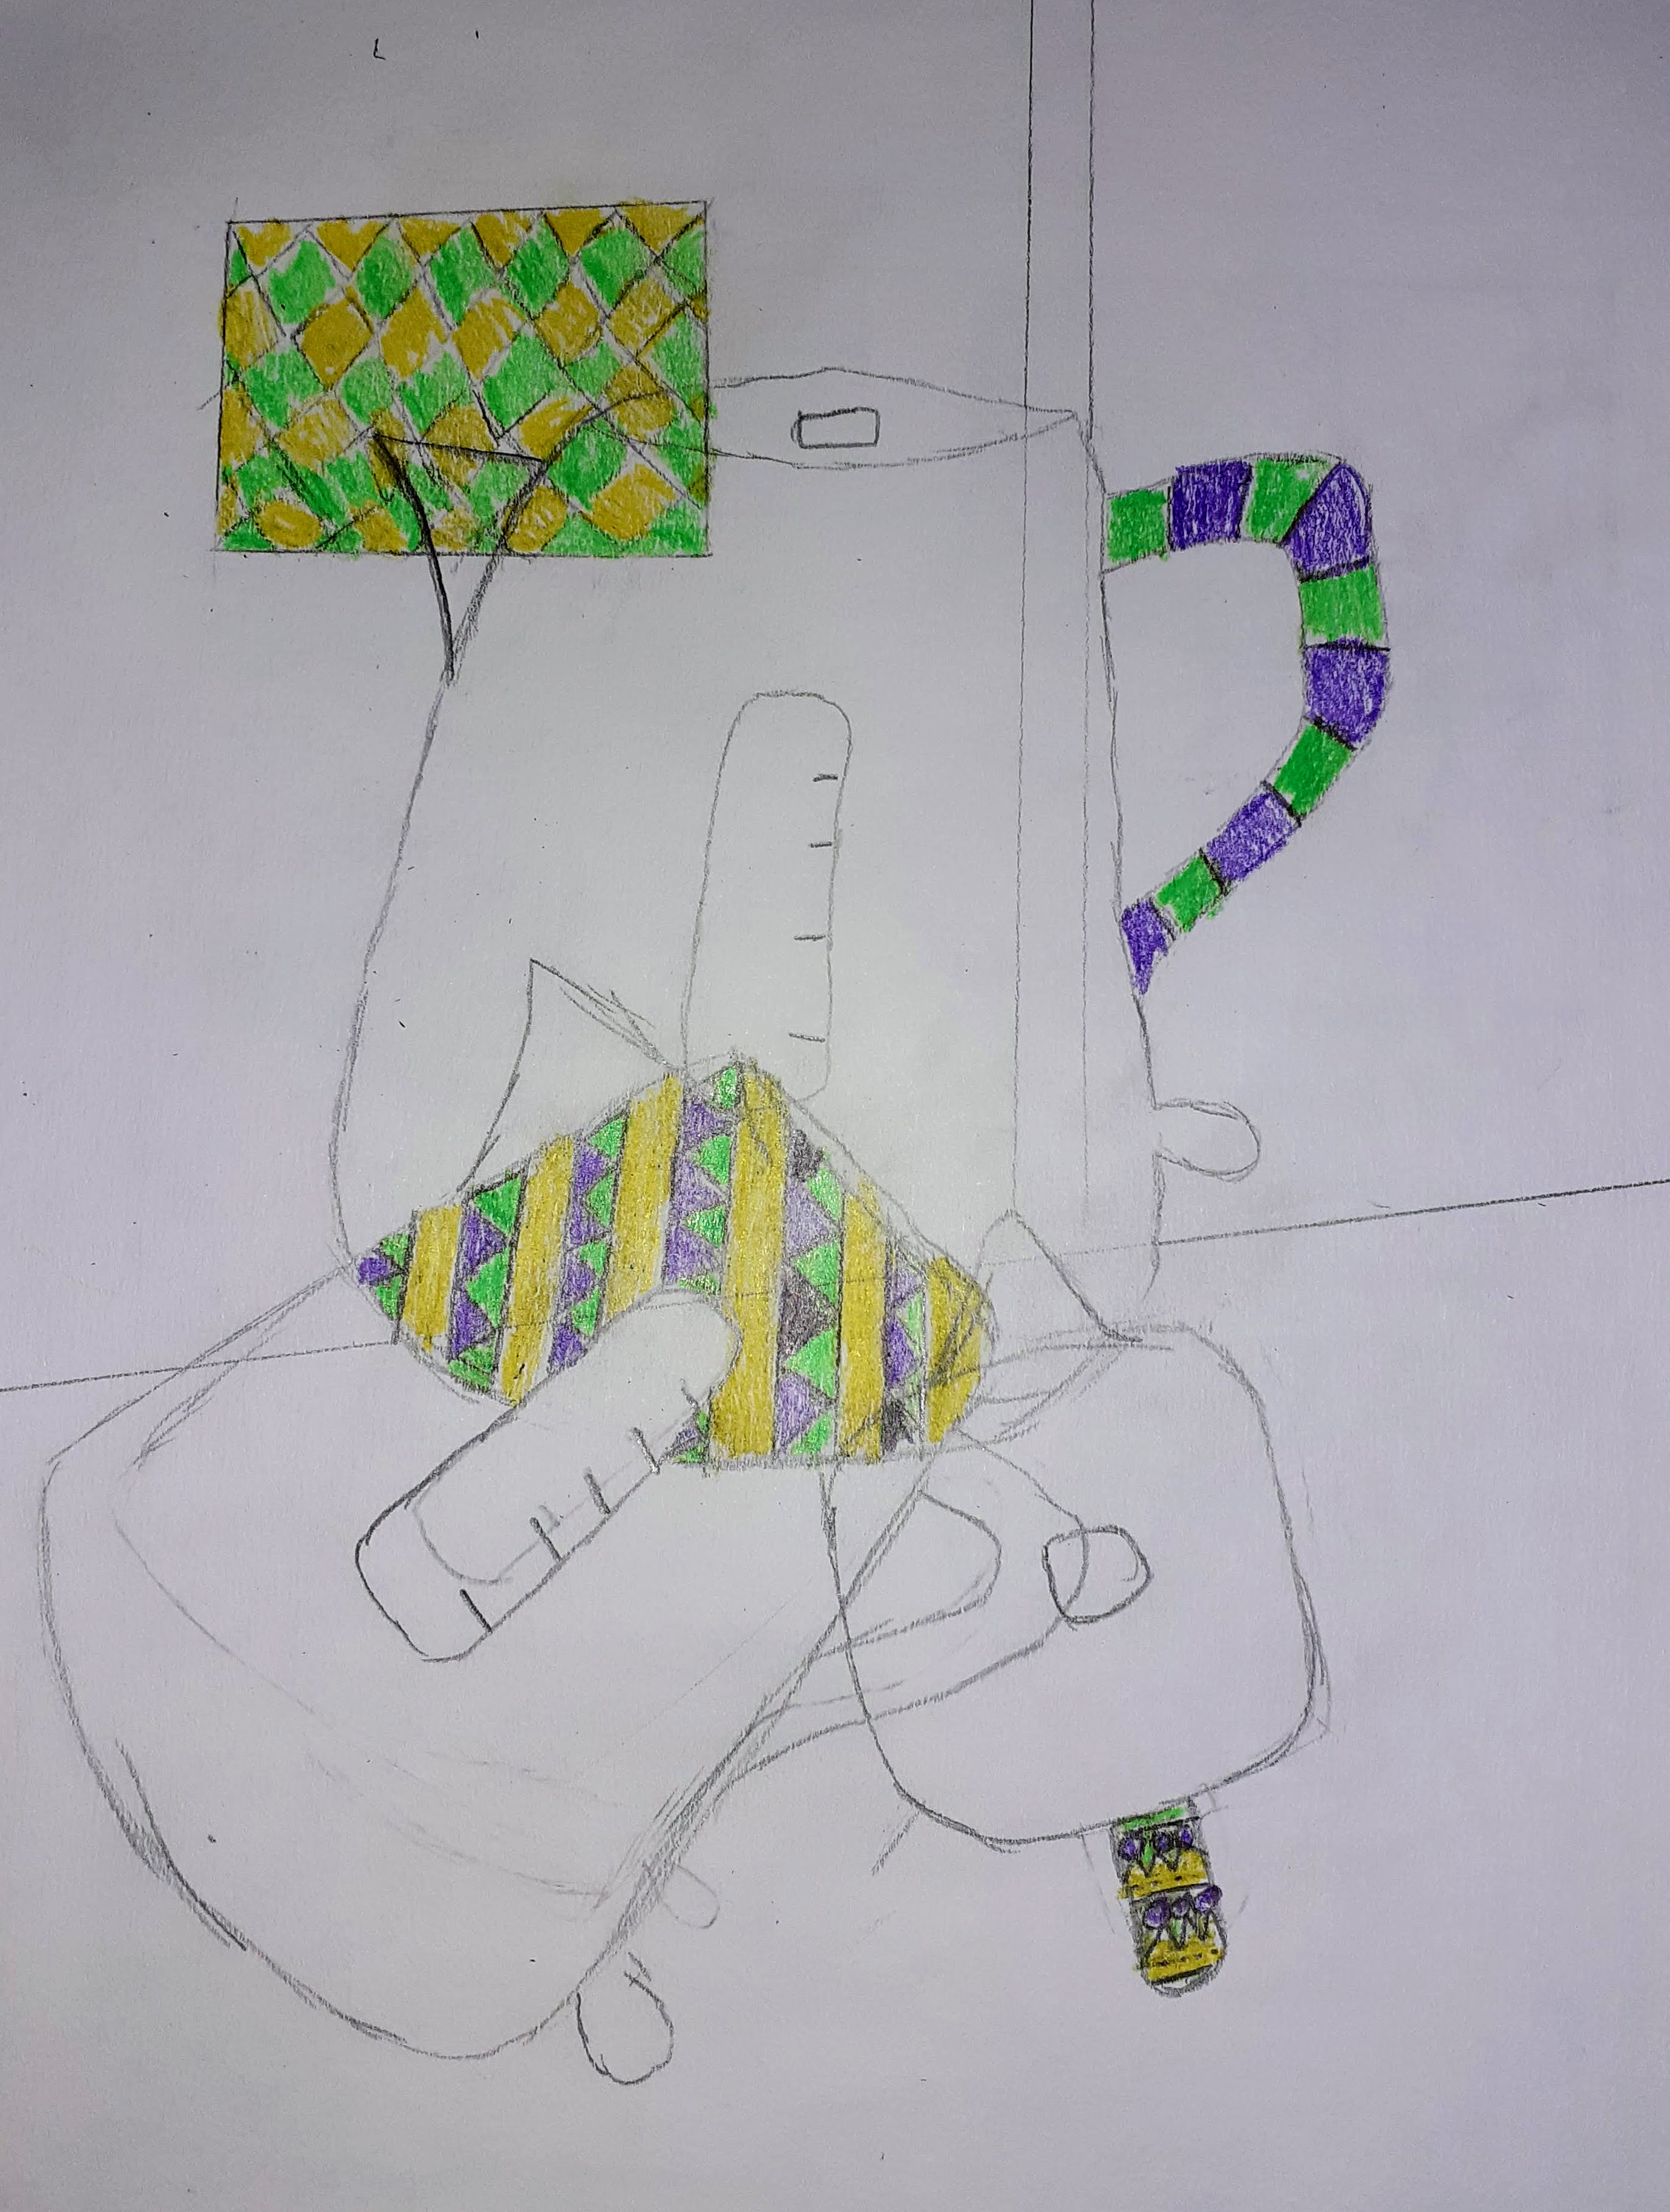
For lesson / week 3, I asked students to self-assess their artwork using the criteria from the previous lesson. They then looked at more Cubist artworks and identified how the artists used colour to create patterns and areas of positive / negative colour. This colour theory lesson introduced complementary colours and has a couple of shorter tasks (which are in the full presentation). Understanding how Cubist artists used colour informed the students next steps.


Lesson / week 3 in this Cubism project focused on artist’s use of tone. Students identified ‘successful’ tonal work, then applied their understanding of colour theory again (from the previous lesson). I asked students to work in warm tones this week to ensure they didn’t start adding too many colours all at once. It also helped them realise that harmonious colours on the wheel blend more smoothly.

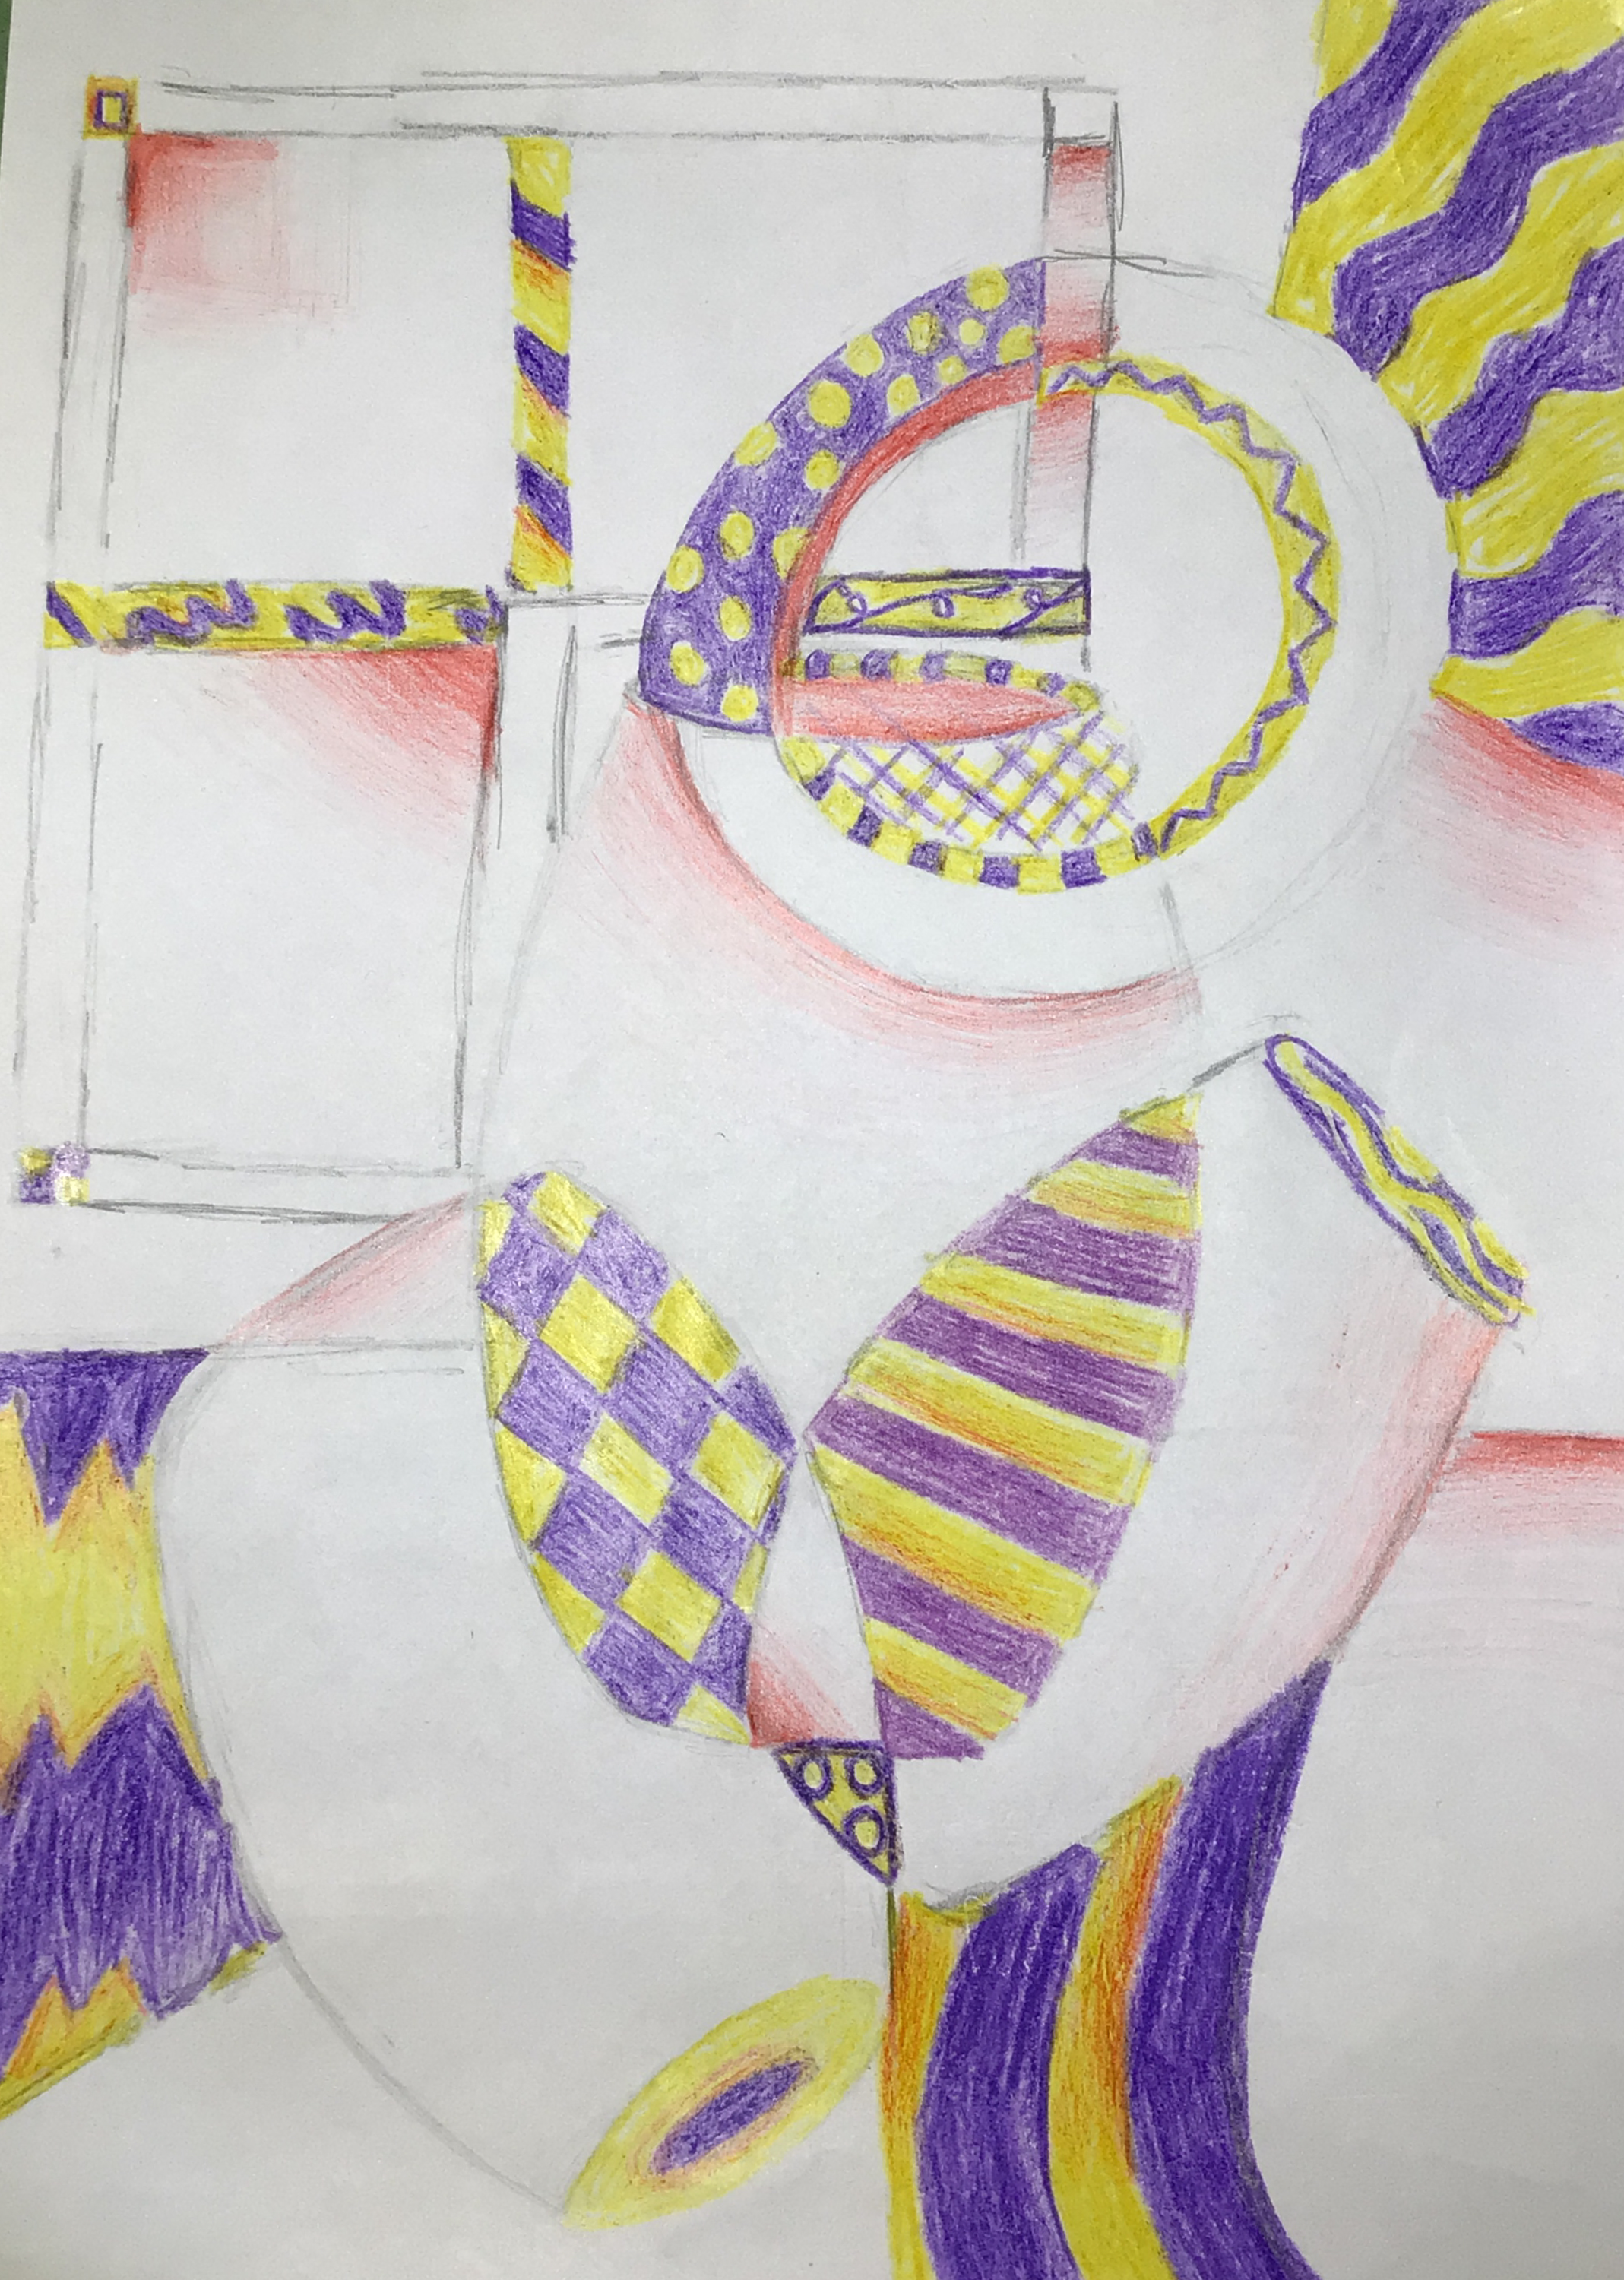


And that’s everything I have so far! One student moved on quicker than the other and added cool harmonious colours to their work, I think it’s looking great:

If you would like this (unfinished) art home learning / Cubism project just leave a comment and I will share the presentation (what I have done so far!) with your email address. Also let me know if you have any questions or ideas about the project.

Donate!
Could you make a small donation to help cover the cost of keeping this site free? It’s getting more expensive to keep online. Thank you!
£1.50

Yes, please! I would love this lesson. Thank you!!!
LikeLike
I have just sent it for you – enjoy!
LikeLike
Hi, please can I have access to the lesson, I would love this lesson, Thank you!
LikeLike
Hi, yes of course! I have shared it with you 🙂
LikeLike
Yes please, I would love this lesson plan for our art week next week, thank you so much!
LikeLike
I have just shared it – I hope it’s helpful 🙂
LikeLike
This lesson plan looks amazing! I would love to use some of your material in my Spanish class when I teach them about Spanish art, Picasso and cubism!!!
Thank you for sharing.
LikeLike
Thanks for your message and what a great cross-curricular idea! I hope it works well 🙂
LikeLike
hi please can you send me this PowerPoint thank you
LikeLike
Hi, yes I just shared it – enjoy!
LikeLike
great lesson plan ideas I would love you to share this with me please
LikeLike
No problem! I just sent them over.
LikeLike
This is great, thank you for sharing! I would love to use this presentation and modify it to fit my hybrid middle school STEAM class and our mini-unit on Cubism. Would you be willing to send it to me?
LikeLike
Hi, yes of course! I’d love to see how you modify it for your students too 🙂
LikeLike
Hi, please can I have access to the lesson, I would love this lesson. Thank you!
LikeLike
Hi, yes you can – I have shared it all with you 🙂
LikeLike
Hi, I love this lesson, please could you share it with me
LikeLike
Thank you! I have just shared it 🙂
LikeLike
yes, kindly send.
LikeLike
I have just shared it 🙂
LikeLike
This is just what i was looking for. I would love the presentation if it is still available.
Thankyou
LikeLike
I’m glad to hear that – I hope this helps you out 🙂 I just sent it over.
LikeLike
Hi, great guidance and results. Could I please get a copy?
Thank you.
LikeLike
Hi, I have just shared all of the projects with you – hope they’re helpful!
LikeLike
Hi there, I love this lesson! Can I get a copy of this? Thank you!
LikeLike
Hi, yes of course 🙂 I just shared it.
LikeLike
Could I have it please? this is a great project for my SEN pupils
LikeLike
Yes of course! I would love to see any of the work your students make too 🙂
LikeLike
I would love this lesson. Thank you
LikeLike
No problem, I just shared it for you 🙂
LikeLike
Could I have this please? love your student outcomes x
LikeLike
Thanks, I have just shared the presentation with you – enjoy!
LikeLike
could I request a copy please?
LikeLike
Hi, of course! I just shared it 🙂
LikeLike
I would like this lesson! It looks interesting and like a great exploration of Cubism!
LikeLike
No problem, I have just shared the presentation with you 🙂 Hope it’s helpful.
LikeLike
This one look great for my tutor group too : )
LikeLike
I have shared this too – I hope it’s helpful.
LikeLike