In these polyblock printing technique lessons, my Y7 art pupils looked at African Adinkra Symbols and used them as inspiration to create their own colourful, printed artworks. They researched and analysed the Adinkra symbols, then created their own symbols and finally created their own polyblock printed artworks.
Get Art Resources sent straight to your email:
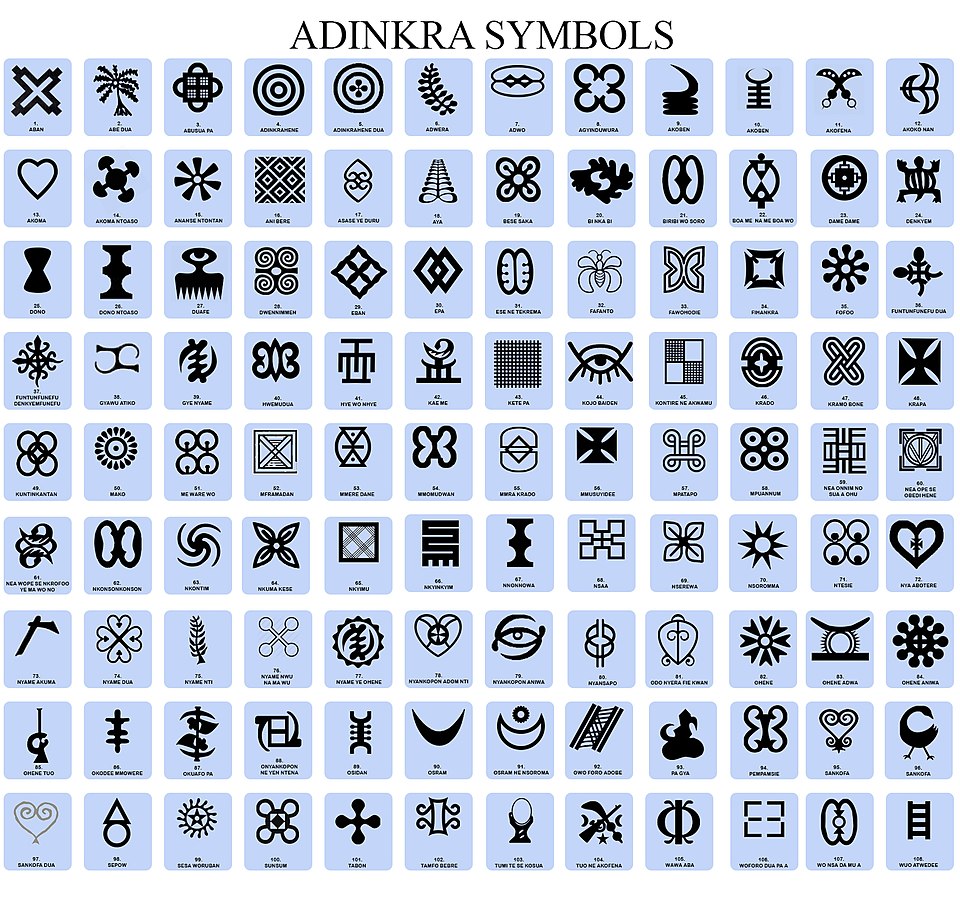
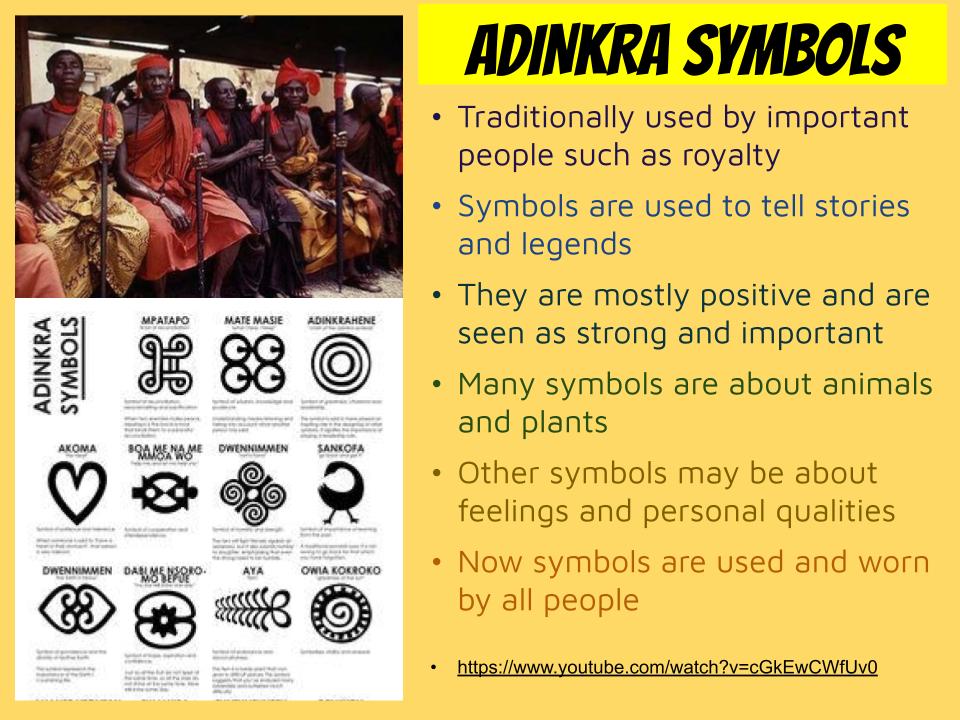
For their initial research into printing techniques, students analysed Adinkra Symbols. They looked at the importance of the symbols, and researched different facts about them. Inspired by their research, they then created their own symbols and gave them important meanings. While they were creating their drawings and designing their own symbols, the students focused on filling the space, using a range of thick and thin lines and creating symmetry.
This full KS3 poly printing project is available here on TES OR here on TPT
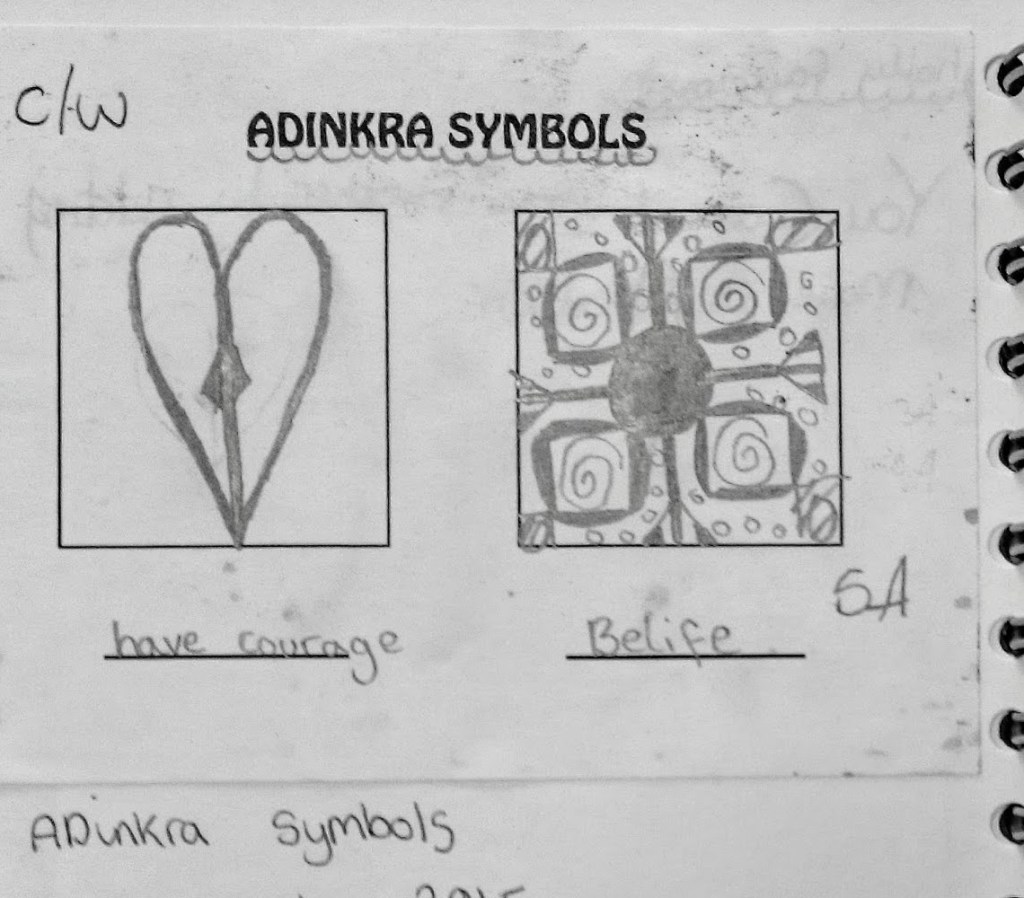
Here are some examples of the pupils’ symbol design work. They researched the symbols for homework and added facts about them in their sketchbook pages. In their drawings they had to focus on the use of the formal elements shape and line (adding a range of thick and thin, solid and outlined etc.) then thought about what their own symbols could mean.


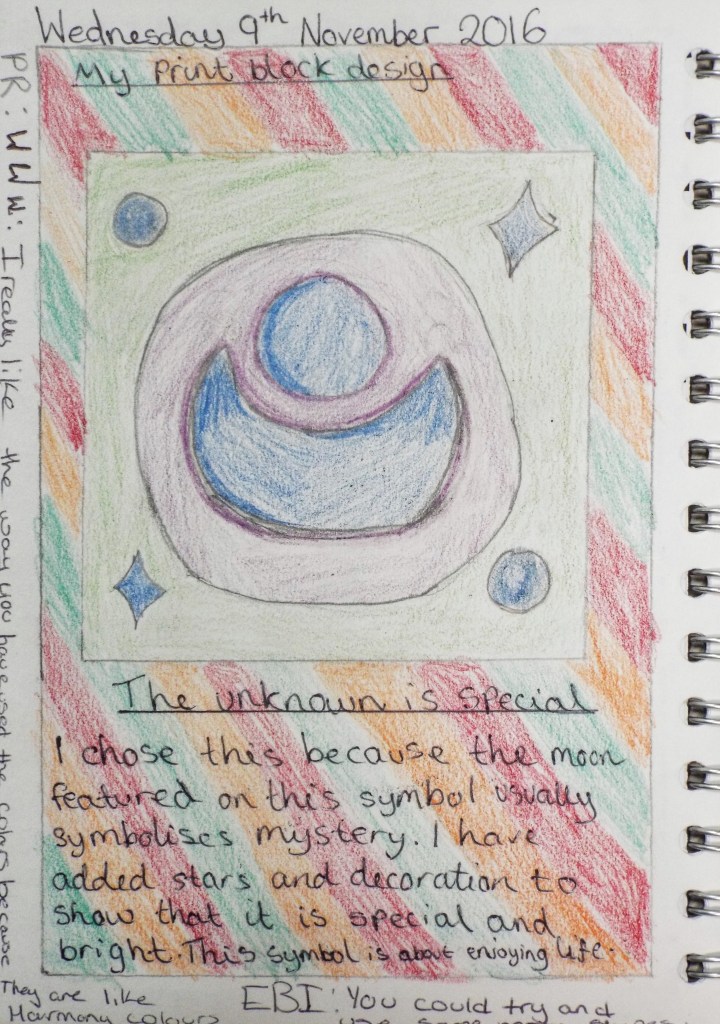
After their initial design sketches, the art students developed their ideas and drew out their favourite design bigger (adding an element of challenge to the work), whilst thinking of a colour scheme and aiming to have equal amounts of each colour. They had to explain why they had chosen that design and what it symbolised.

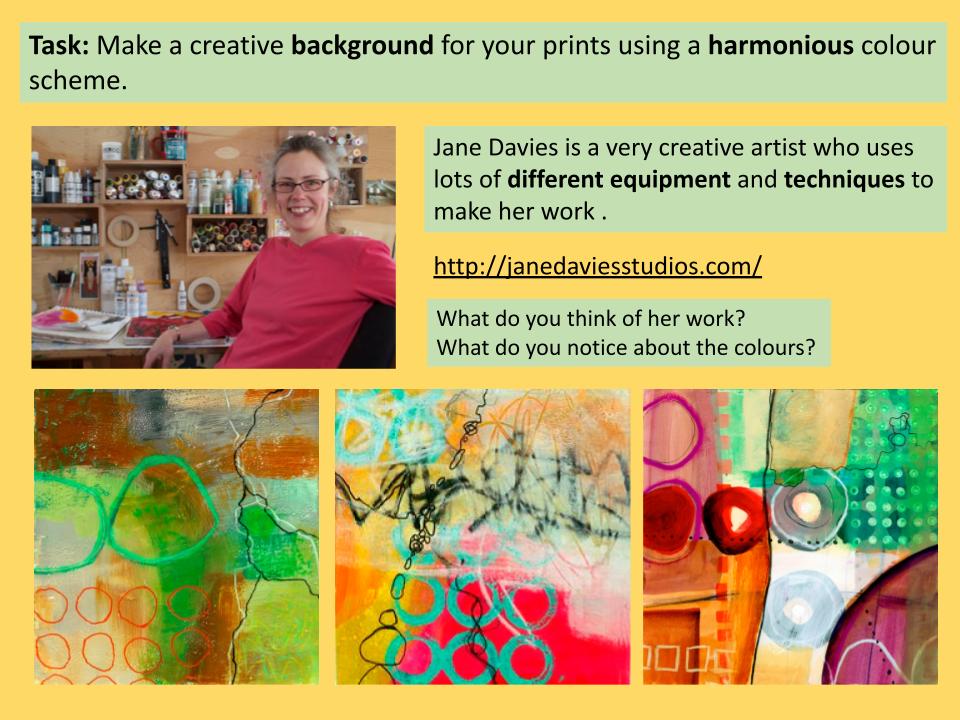
Next, students did some artist research to understand different ways of creating interesting backgrounds to print onto – we looked at collage / multimedia artist Jane Davies for inspiration. This was a really fun part of this printing project, as students used a range of materials such as sponges, straws, forks, spatulas etc. Pupils worked in their chosen colour scheme.
How to create successful polyblock prints using quick print:
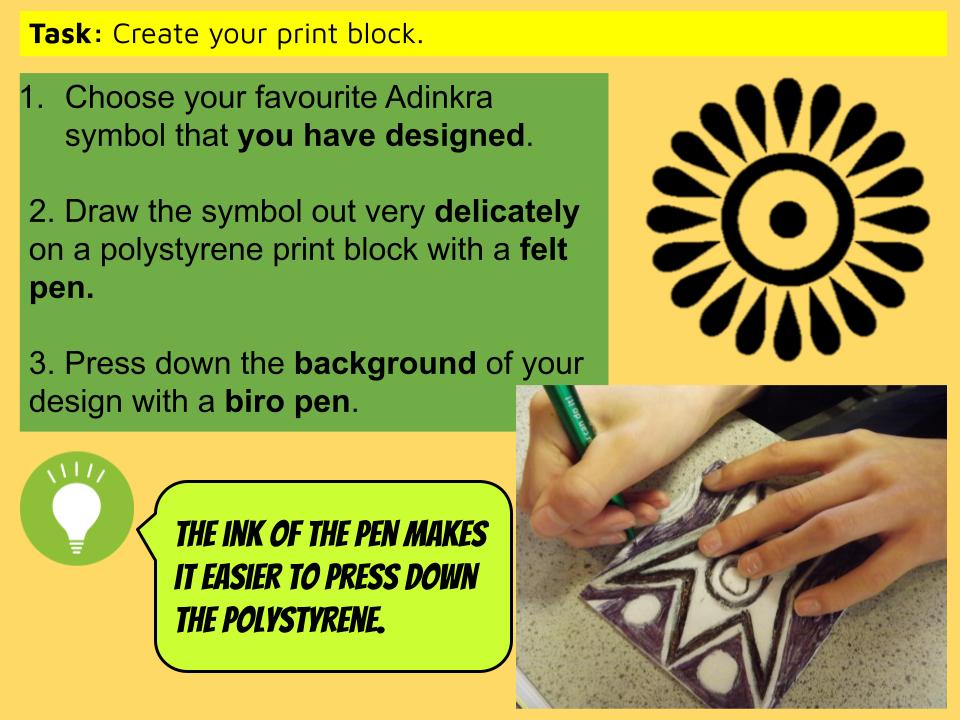
I then showed my students how to accurately copy out their design onto polyboard squares and get them ready to print.
- First they carefully drew their design onto the polyboard using a broad-tip felt tip pen, making sure they pressed on lightly.
- Next they pushed down on the areas that they did not want to show up. I used a biro but you could easily use a sharp pencil.
- I talked to students about how the polyboard is fragile and if it snapped, would need to be taped back together on the back.
- I explained how this part of the poly-printing process is super important as it makes their designs clear and accurate
I have created this simple step-by-step video of how to create a polyboard (I realised that doing the process correctly can be quite time consuming and students struggled to visualise the end point before they started. Hopefully this solves a couple of those little problems – feel free to share this with your students too.
This full KS3 poly printing project is available here on TES OR here on TPT
Pupils carefully drew their symbol designs out onto the poly-board blocks, then did a sample print in their books. This part of the print project was important to ensure students could improve their work.
Their aim was to cover the board evenly with ink, press down firmly when printing and make sure they get the corners and edges of the board. For their first attempts, students had to reflect on how to improve their printing technique using the lesson outcomes.


Pupils reflected on their test print and wrote out a target for improvement. Some needed to push down more areas on their polyboard, others needed to add more (or use less) ink.
After their backgrounds were decorated using a range of printing techniques, pupils started to print!
They could choose a formal or informal design for their placement. They completed their first layer of prints then we looked at techniques for adding a second layer of colour.

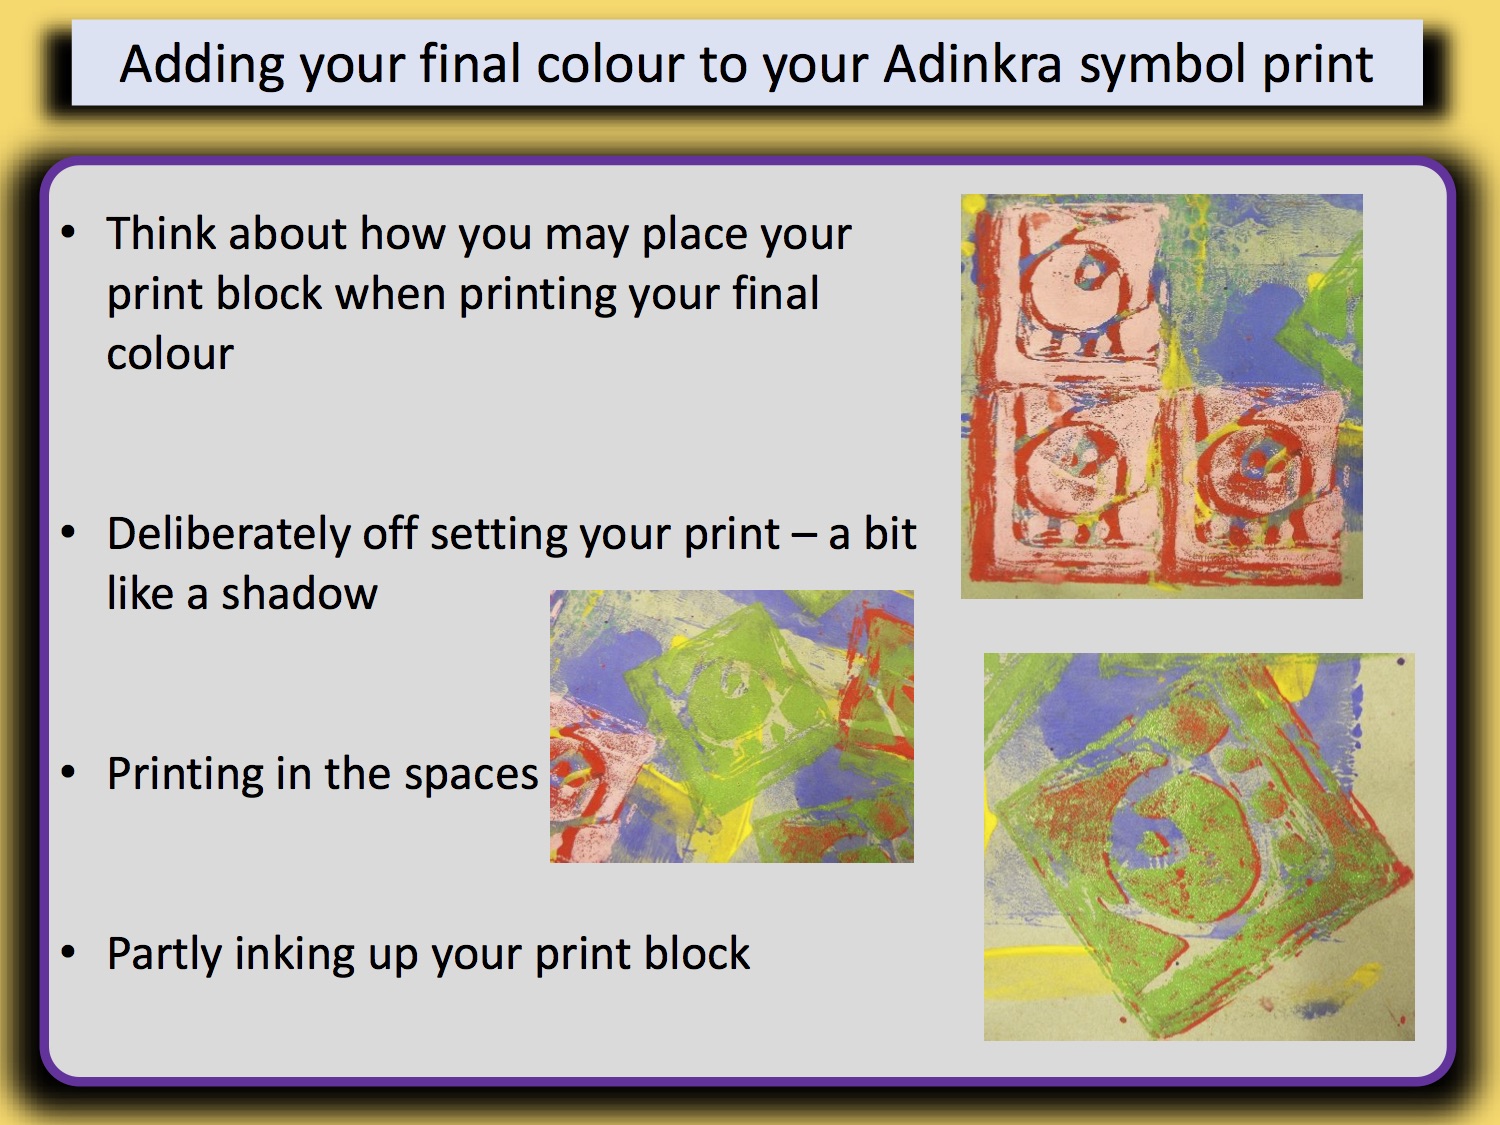
Pupils then decided how they wanted to add another layer of ink to their print, using either the off-setting, printing in negative spaces, or partly inking up the block techniques. I repeated this whole process twice so pupils had two final pieces. They made their second one to show how they had improved from their first attempt.
This full KS3 poly printing project is available here on TES OR here on TPT
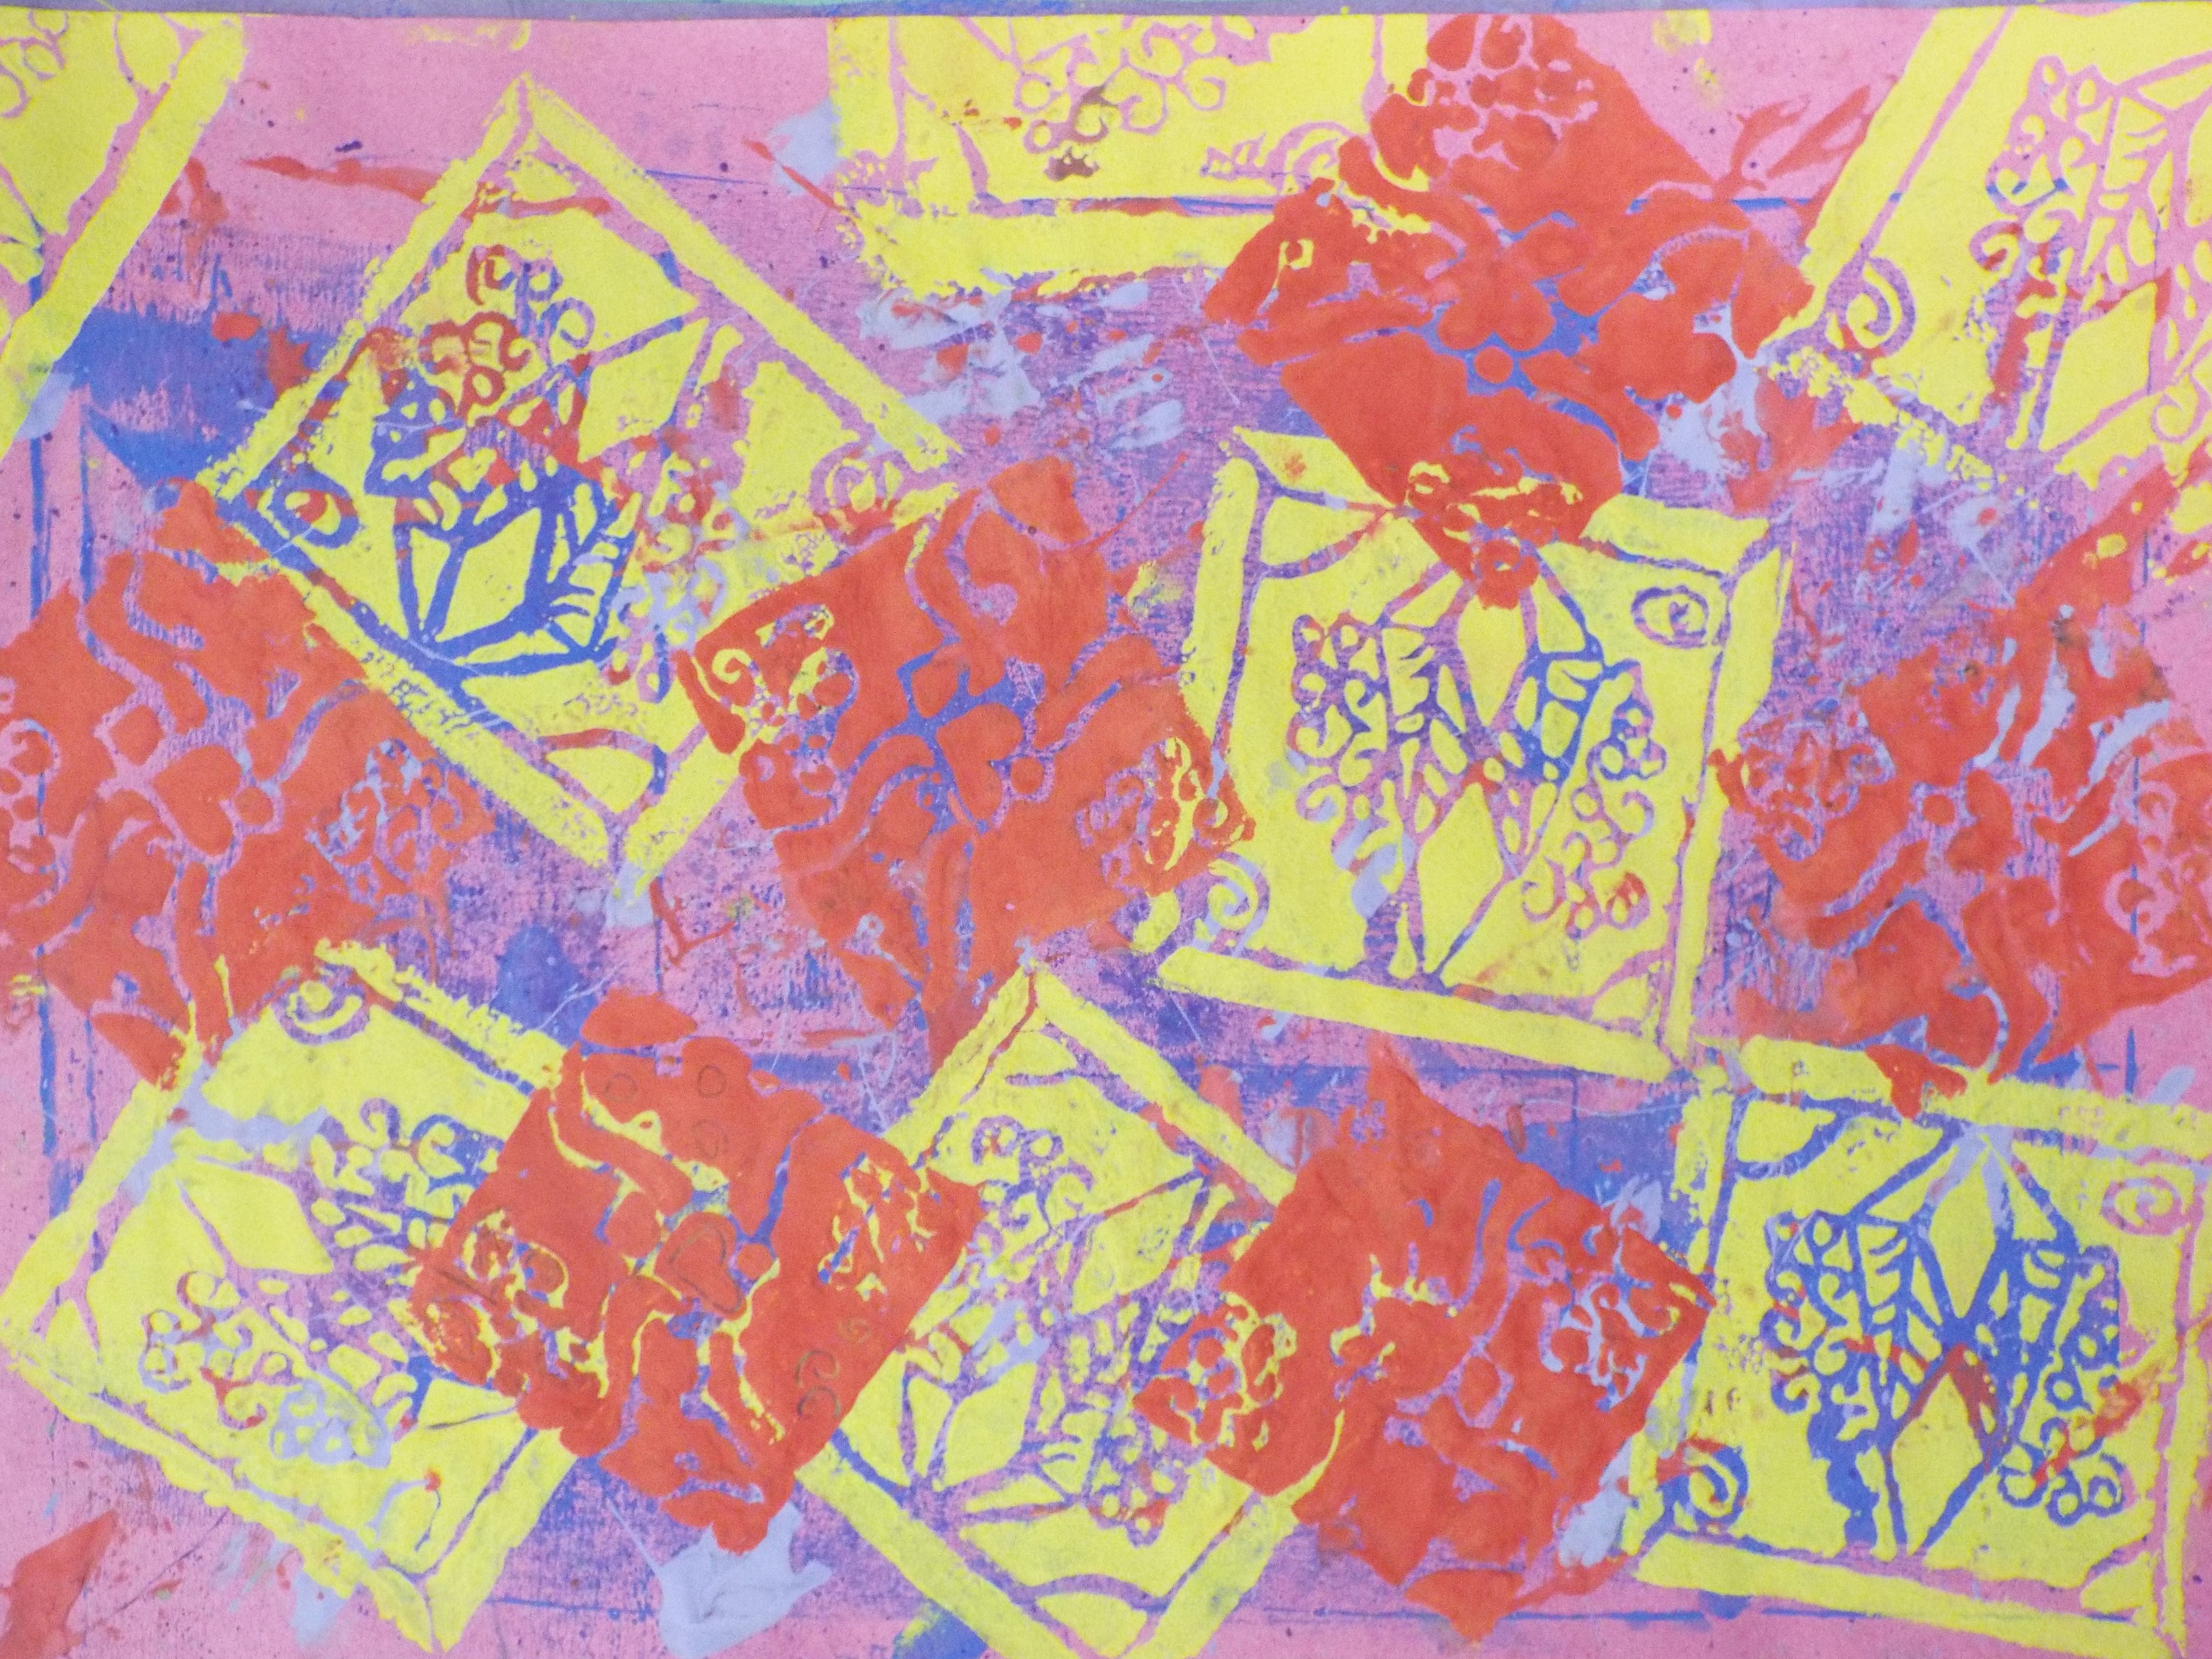
Here are some of the final printed outcomes – students loved them and I think they really did a great job! What do you think? Let me know in the comments!


Interesting
LikeLiked by 1 person