I designed this 3D Pop Art project as a fun way to end the summer term with my students. It is inspired by different Pop Art ideas and I combined a few elements of art (including colour theory) to create this full scheme of work. I taught it with Year 7 (11-12yrs) for around 6 weeks, having one hour lessons per week – though I think it could easily be adapted for different ages too!
Get art lesson resources sent straight to your email:


Get the full 3D Pop Art project on Tes here or on TPT here – enjoy!
The 3D Pop Art project was designed to be a fun way to introduce students to some of the basic elements of Pop Art; bright, flat colours, use of line and outline to create comic styles, pattern and the importance of language and text, specifically onomatopoeias. I wanted students to develop their understanding of colour theory too, so added some challenges for colour mixing and use of colour schemes.
To help with planning and prep (Y7 P5 after a full day teaching is … a lot 😂 ) I purposely kept to minimal materials – just cardboard and poster paint. I also wanted final pieces that were 3D but easy to store (and fitted on the drying racks!) so I went for these stacked pieces.
Which materials do you need for this project?
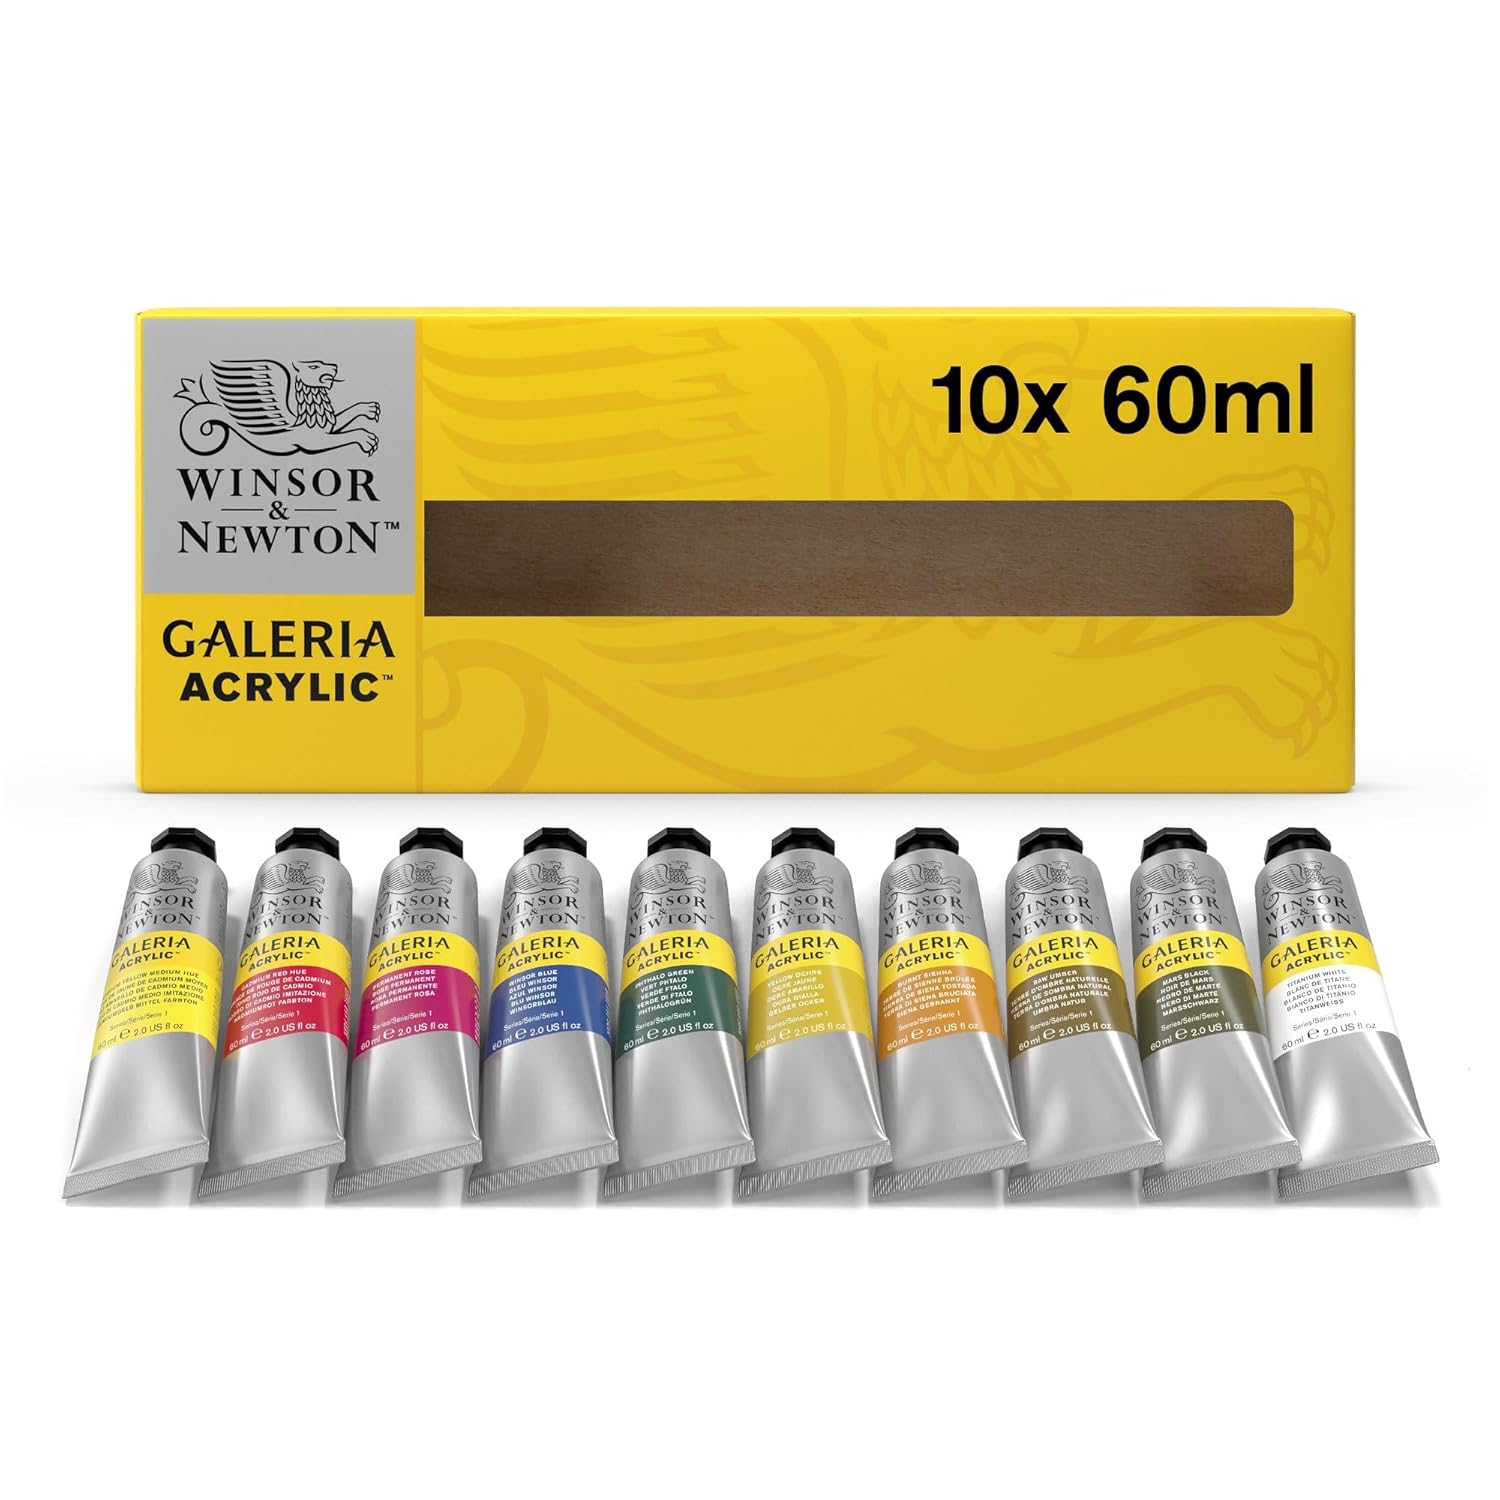
I have purposefully kept materials to a minimum and chose to use cardboard which students brought in, however if you are planning to do this with more advanced classes, I would suggest using the materials below. Foam board can last longer and be cut more precisely than card. Acrylic paints will give a higher quality colour finish and using paint pens will help students improve their detailing.

I have shared full art projects dedicated to understanding colour theory here – enjoy!
The art project outcomes were inspired by these artworks by Roy Lichtenstein and Yayoi Kusama, with students working between their sketchbooks to create ideas and designs, moving onto parts of their final piece then jumping back to their sketchbooks. I think students understanding that their art sketchbooks can be a ‘work in progress’ and a place to explore ideas is really important for them developing as artists 😊


After doing some research into the elements of Pop Art, students started to create shapes in their sketchbooks. These would later become the shapes they cut out of cardboard and stacked up, so the lesson outcomes focused on precision, scale and having a range of designs.
I had some printouts which I gave to students (included in the presentation) and I had students draw a border on their sketchbook page as it helps them draw to scale (fill the box) and helps with their presentation. They also had to think back to the shapes they had seen in Roy Lichtenstein’s work. Here are a couple of examples by my students:


Get the full 3D Pop Art project on Tes here or on TPT here – enjoy!
All of the lessons in this project include entry / starter tasks (sometimes called bell ringers) and plenaries or reflections for the end of the lesson. Sometimes if it was a practical lesson I have included numbered instructions for students to ensure clearing away was done properly.

Working from their sketchbook designs, students then started cutting out their pop art shapes from pieces of cardboard. I did this for one lesson then the next lesson students went back into their sketchbooks as I introduced colour theory.

On their final pieces, students had to use a mixture of primary colours, secondary colours and tints and shades in their work. This gave them lots of options and meant that they got the chance to do plenty of paint mixing, which they love! I purposely did not show them how to mix the secondary colours, so if students asked, for example, ‘how do I make purple?’, I would tell them they have to work it out using the primary colours. This also meant that prep was quicker as I only had to give out three colours of paint.


I wanted the lessons to be a mixture of practical and sketchbook work so the presentation is in the order I taught it, but it could easily be changed to do all of the design / drawing work first then construct the final pieces. After a couple of lessons painting and adding patterns, I went back to the sketchbooks to help students develop their work. This time they were focusing on creating different patterns inspired by Yayoi Kusama who they had looked at earlier in the project.
Get art resources sent straight to your email:

Here we discussed the use of text in Pop Art and students could practice drawing bubble letters – this was challenging for a lot of them! This meant when they were working on their cardboard and drawing the letters, they had already had a go. This was a also good opportunity for cross-curricular discussion and introduce onomatopoeias. Again, all of the lesson entry tasks and plenaries / reflections were tied to the lesson outcomes.

I have shared a presentation with a range of fun assessment activities for art here – enjoy!
Once all of the drawing and design work for the Pop Art sculptures was complete, the last few lessons were all practical. This was really fun for the students and they were basically at the point where they could come into the lesson and ‘carry on’ with their work – I was really pleased with how independent they were for Y7!

To build their sculptures and start to make their Pop Art 3D, students had to arrange and stack all of their painted cardboard shapes (with small squares of cardboard between each layer). This was really simple and I just used PVA glue. Any early finishers were asked to help others who were behind, or create a bigger cardboard shape to add on to their stack. They could easily have worked into their painted patterns and designs or even used felt-tips to neaten up their work if there was time.
This Pop Art scheme of learning is long enough to cover at least a half term of teaching (based on one hour per week at KS3) – however it can easily be adapted to be shorter or longer if necessary.
Get the full 3D Pop Art project on Tes here or on TPT here – enjoy!
Here are some of the outcomes from my students (they look fantastic displayed in my classroom)
What do you think? Let me know in the comments!


Get this project for £3
Get an instant download of the project here
So cool! Thank you for sharing this!!
You’re welcome!